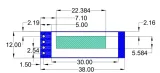
SKU: OT811-C61 Varenummer: AA408 EAN: 9475615381690

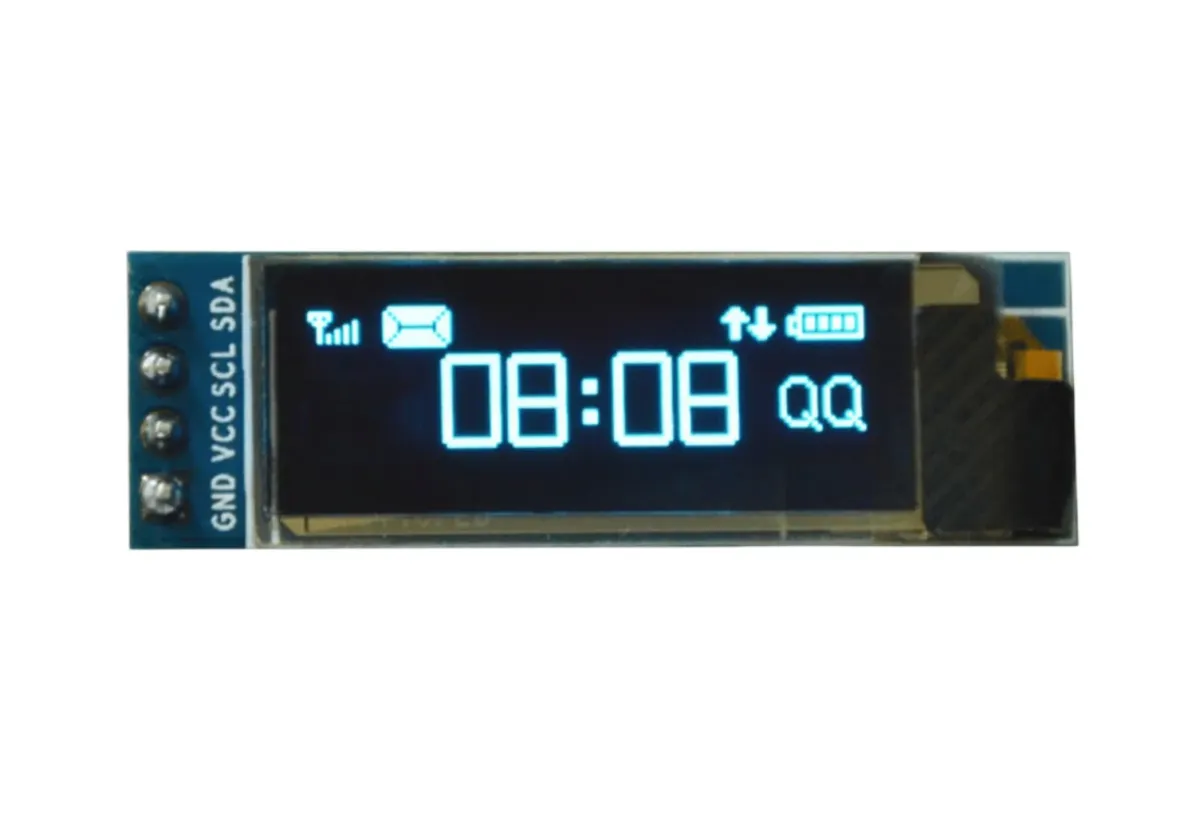
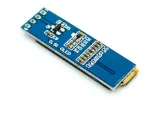
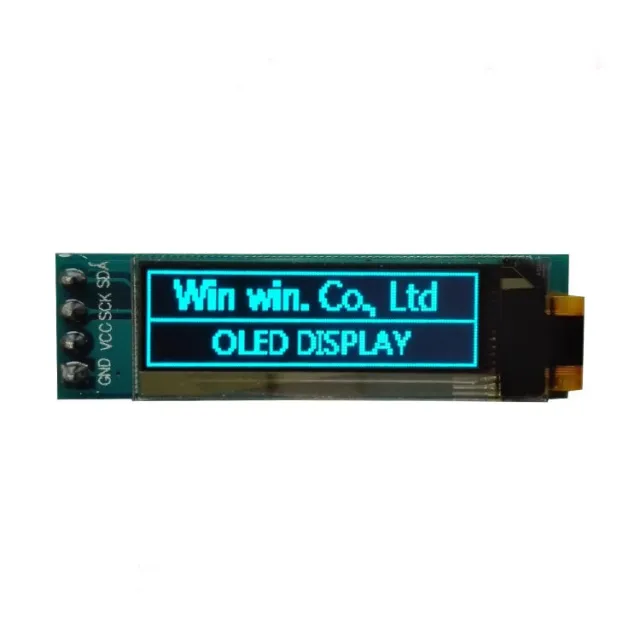
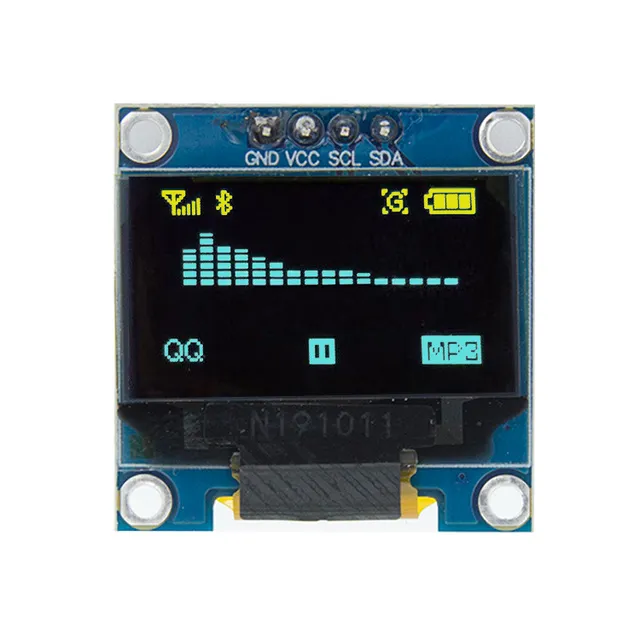
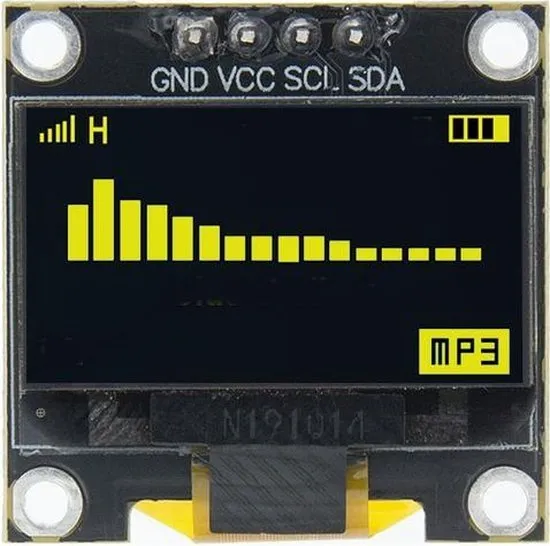
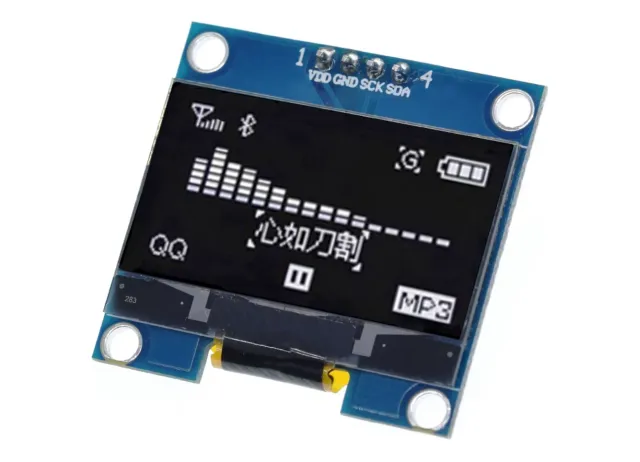
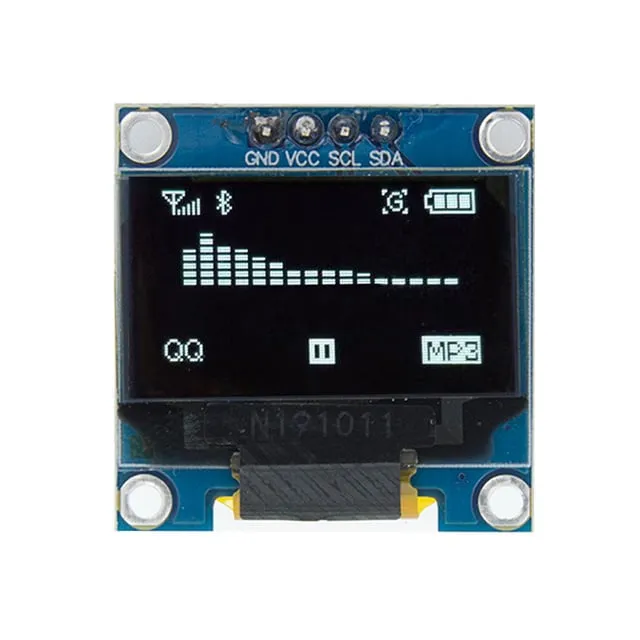
0,91 inch mini OLED-skærm. Knivskarpt billede med en opløsning på 128x32 pixels.
Fungerer med en strømforsyning på 3v-5v. Ideel til Arduino eller ESP32 / ESP8266 projekter.
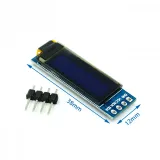
Dimensionerne på dette board er kun 38 x 12 x 3,3mm.
se her Tilslutningsdiagram og eksempelcode >>>
Afmetingen
Lengte: 3,8cm
Breedte: 1,2cm
Hoogte: 0,33cm
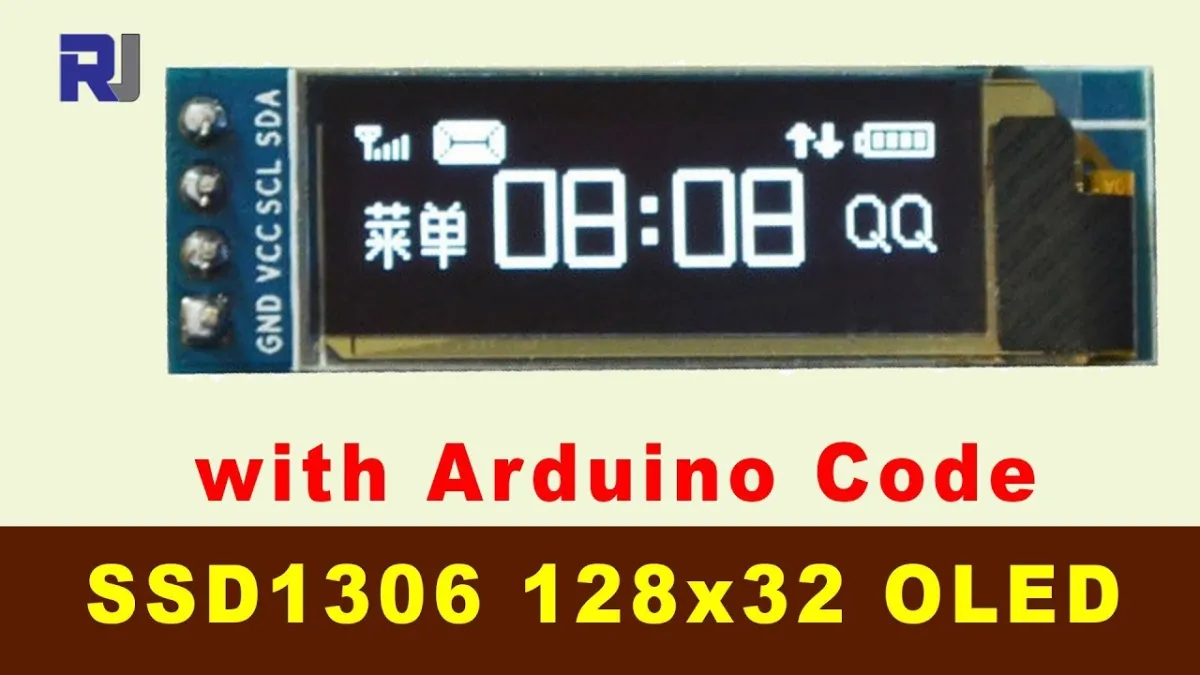
Ved afspilning indlæses videoen fra YouTube.
Sådan tilslutter du Mini OLED display hvid 0.91 inch 128x32 I2C til en Arduino UNO eller ESP32, med en eksempelsketch, du kan uploade med det samme.
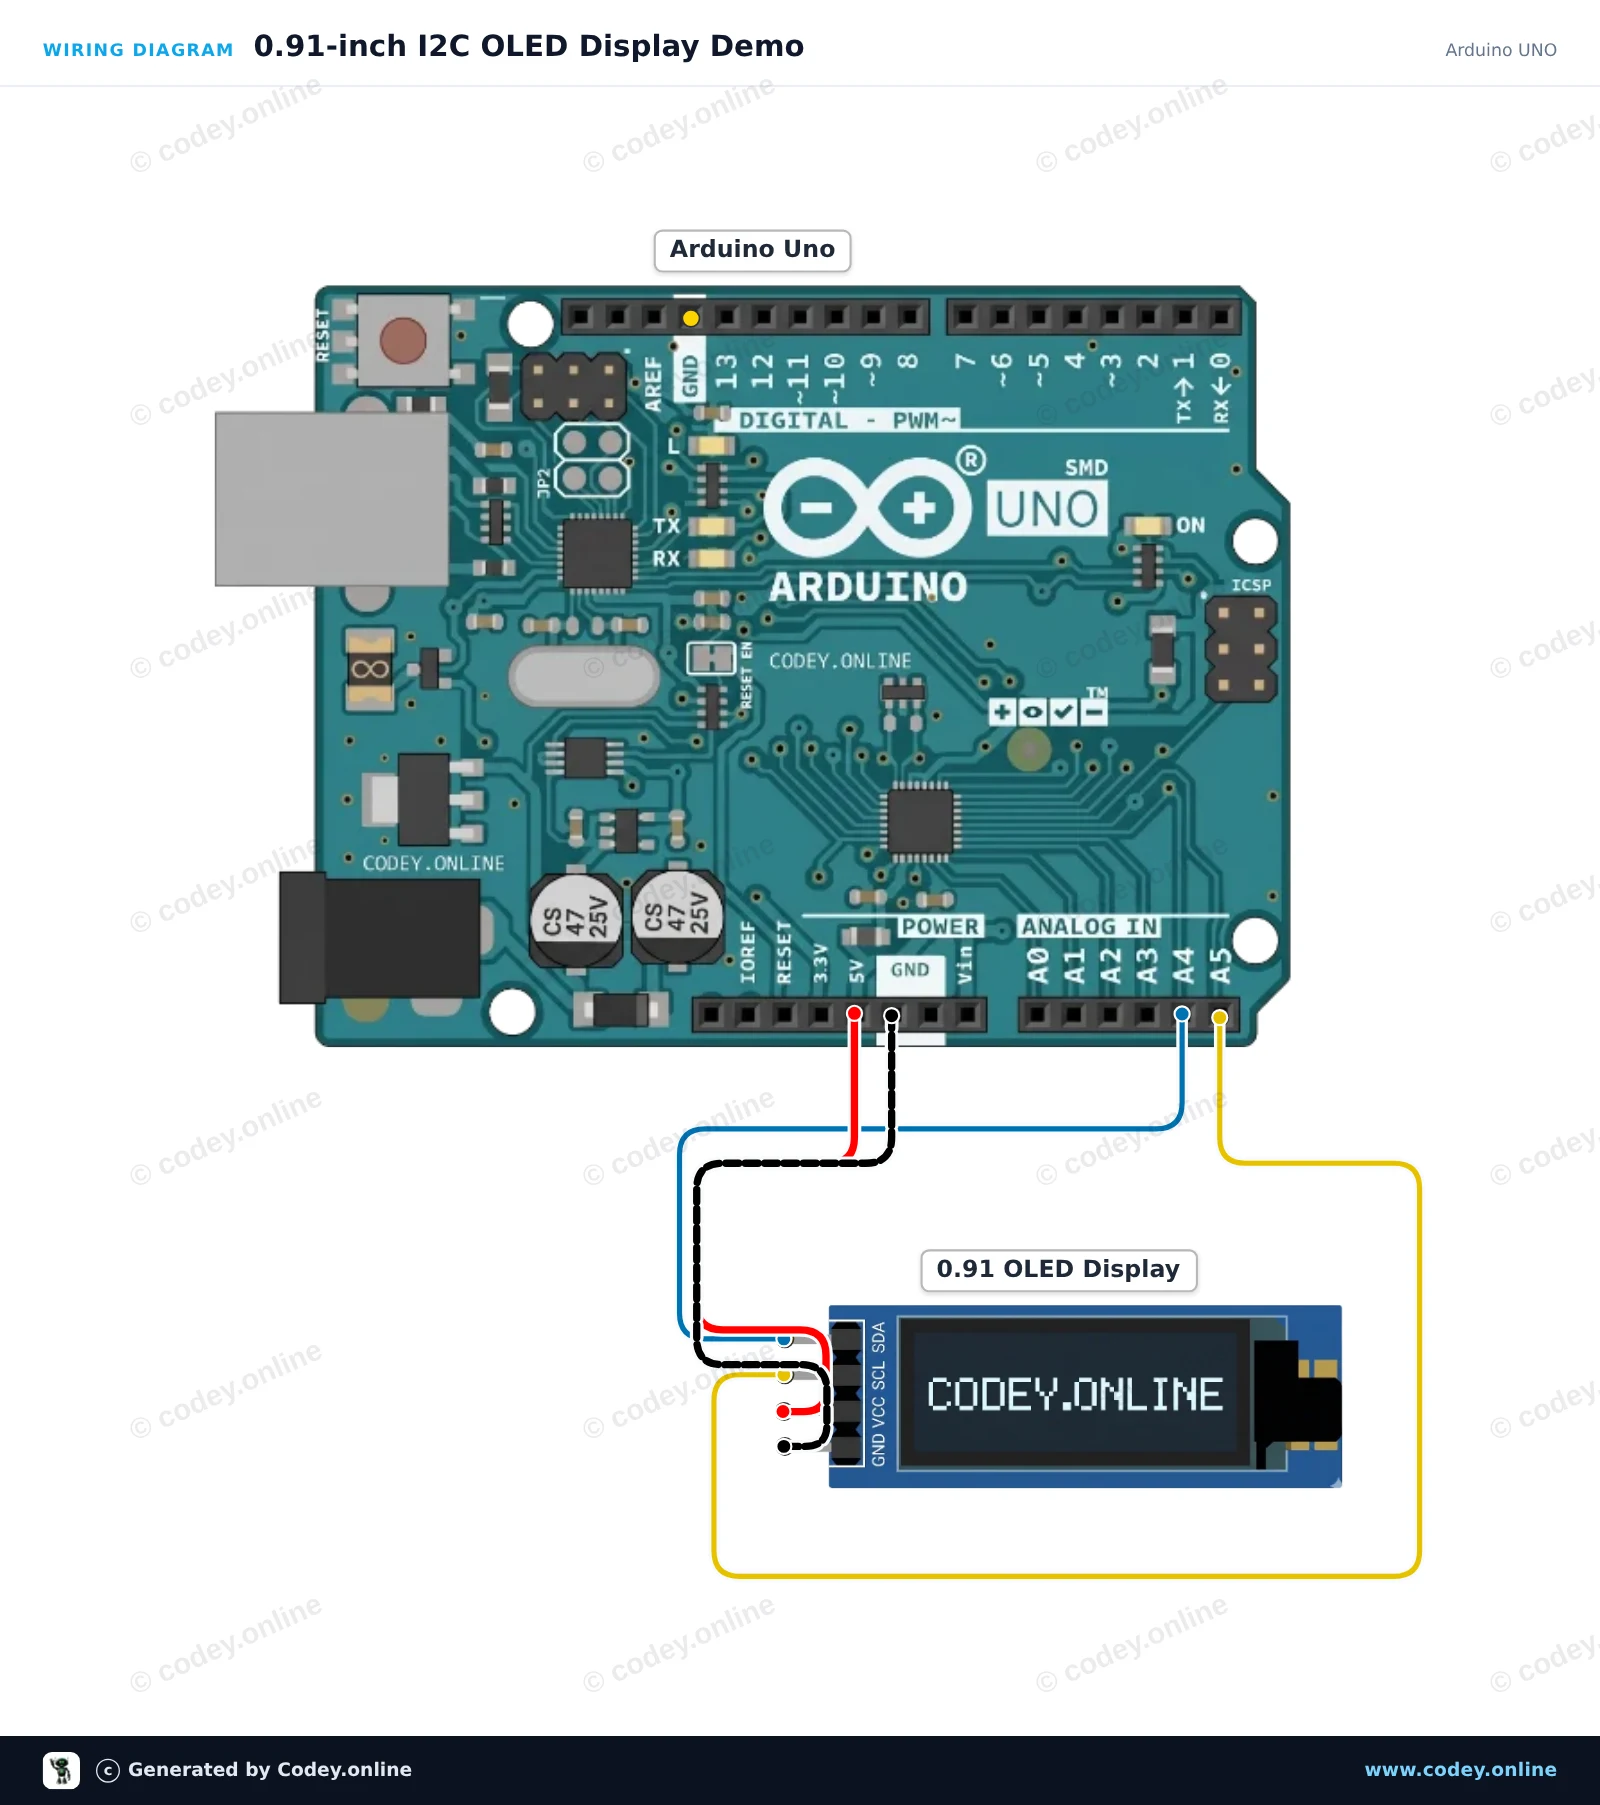
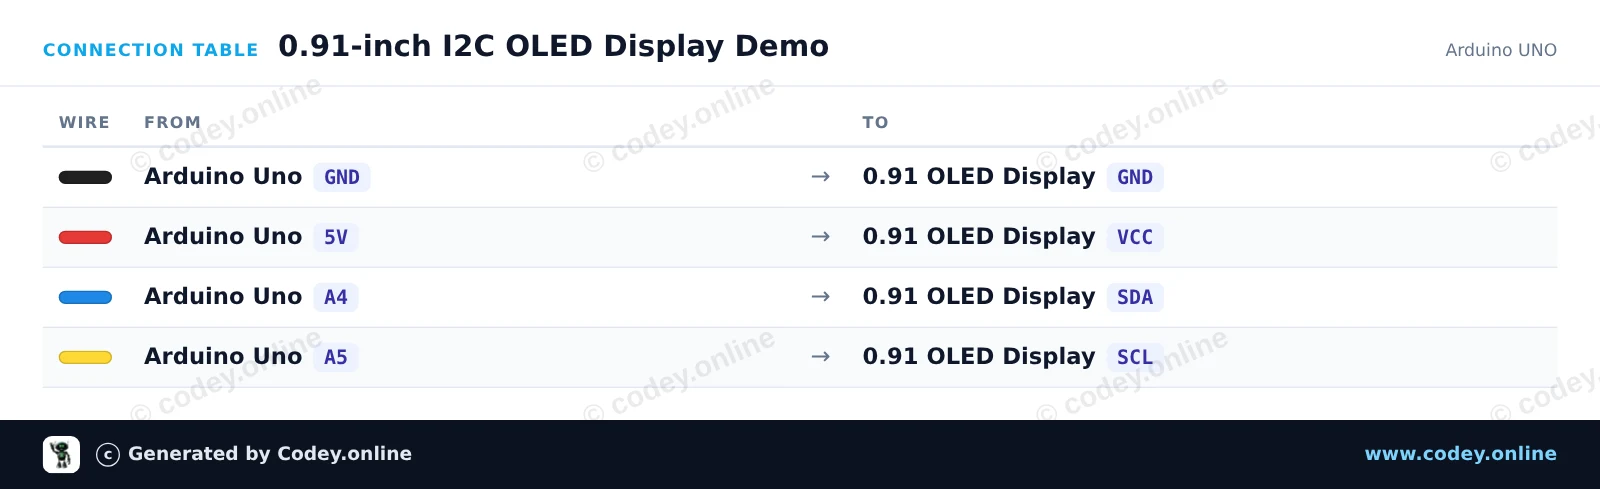
Dette projekt viser, hvordan man initialiserer og viser tekst samt en live-tæller på en 0,91-tommer 128x32 I2C OLED-skærm. Displayet forbindes direkte til Arduino Uno's I2C-ben (A4 og A5) og opdateres løbende.
/*
 * ==================================================================
 *  Generated by Codey.online  —  https://www.codey.online
 * ==================================================================
 *  Project   : 0.91-inch I2C OLED Display Demo
 *  Board     : Arduino UNO (arduino:avr:uno)
 *  Parts     : OLED Display 0.91 inch
 *  Libraries : U8g2 2.36.19
 *
 *  Codey Online is an AI-powered browser IDE for Arduino and ESP32.
 *  Describe your project and Codey writes the code, draws the wiring
 *  diagram and uploads it to your board, straight from the browser.
 *  This code is free to use, modify and share, without warranty.
 * ==================================================================
 */

#include <Wire.h>
#include <U8g2lib.h>

U8G2_SSD1306_128X32_UNIVISION_F_HW_I2C u8g2(U8G2_R0, U8X8_PIN_NONE);

unsigned long counter = 0;

void setup() {
  u8g2.begin();
}

void loop() {
  u8g2.clearBuffer();

  u8g2.setFont(u8g2_font_6x10_tf);
  u8g2.drawStr(0, 10, "0.91\" OLED Demo");

  u8g2.setFont(u8g2_font_ncenB08_tr);
  u8g2.setCursor(0, 26);
  u8g2.print(F("Count: "));
  u8g2.print(counter);

  u8g2.sendBuffer();

  counter++;
  delay(500);
}Nødvendige biblioteker: U8g2 2.36.19
Wiring diagram and example code generated by Codey.online — https://www.codey.online
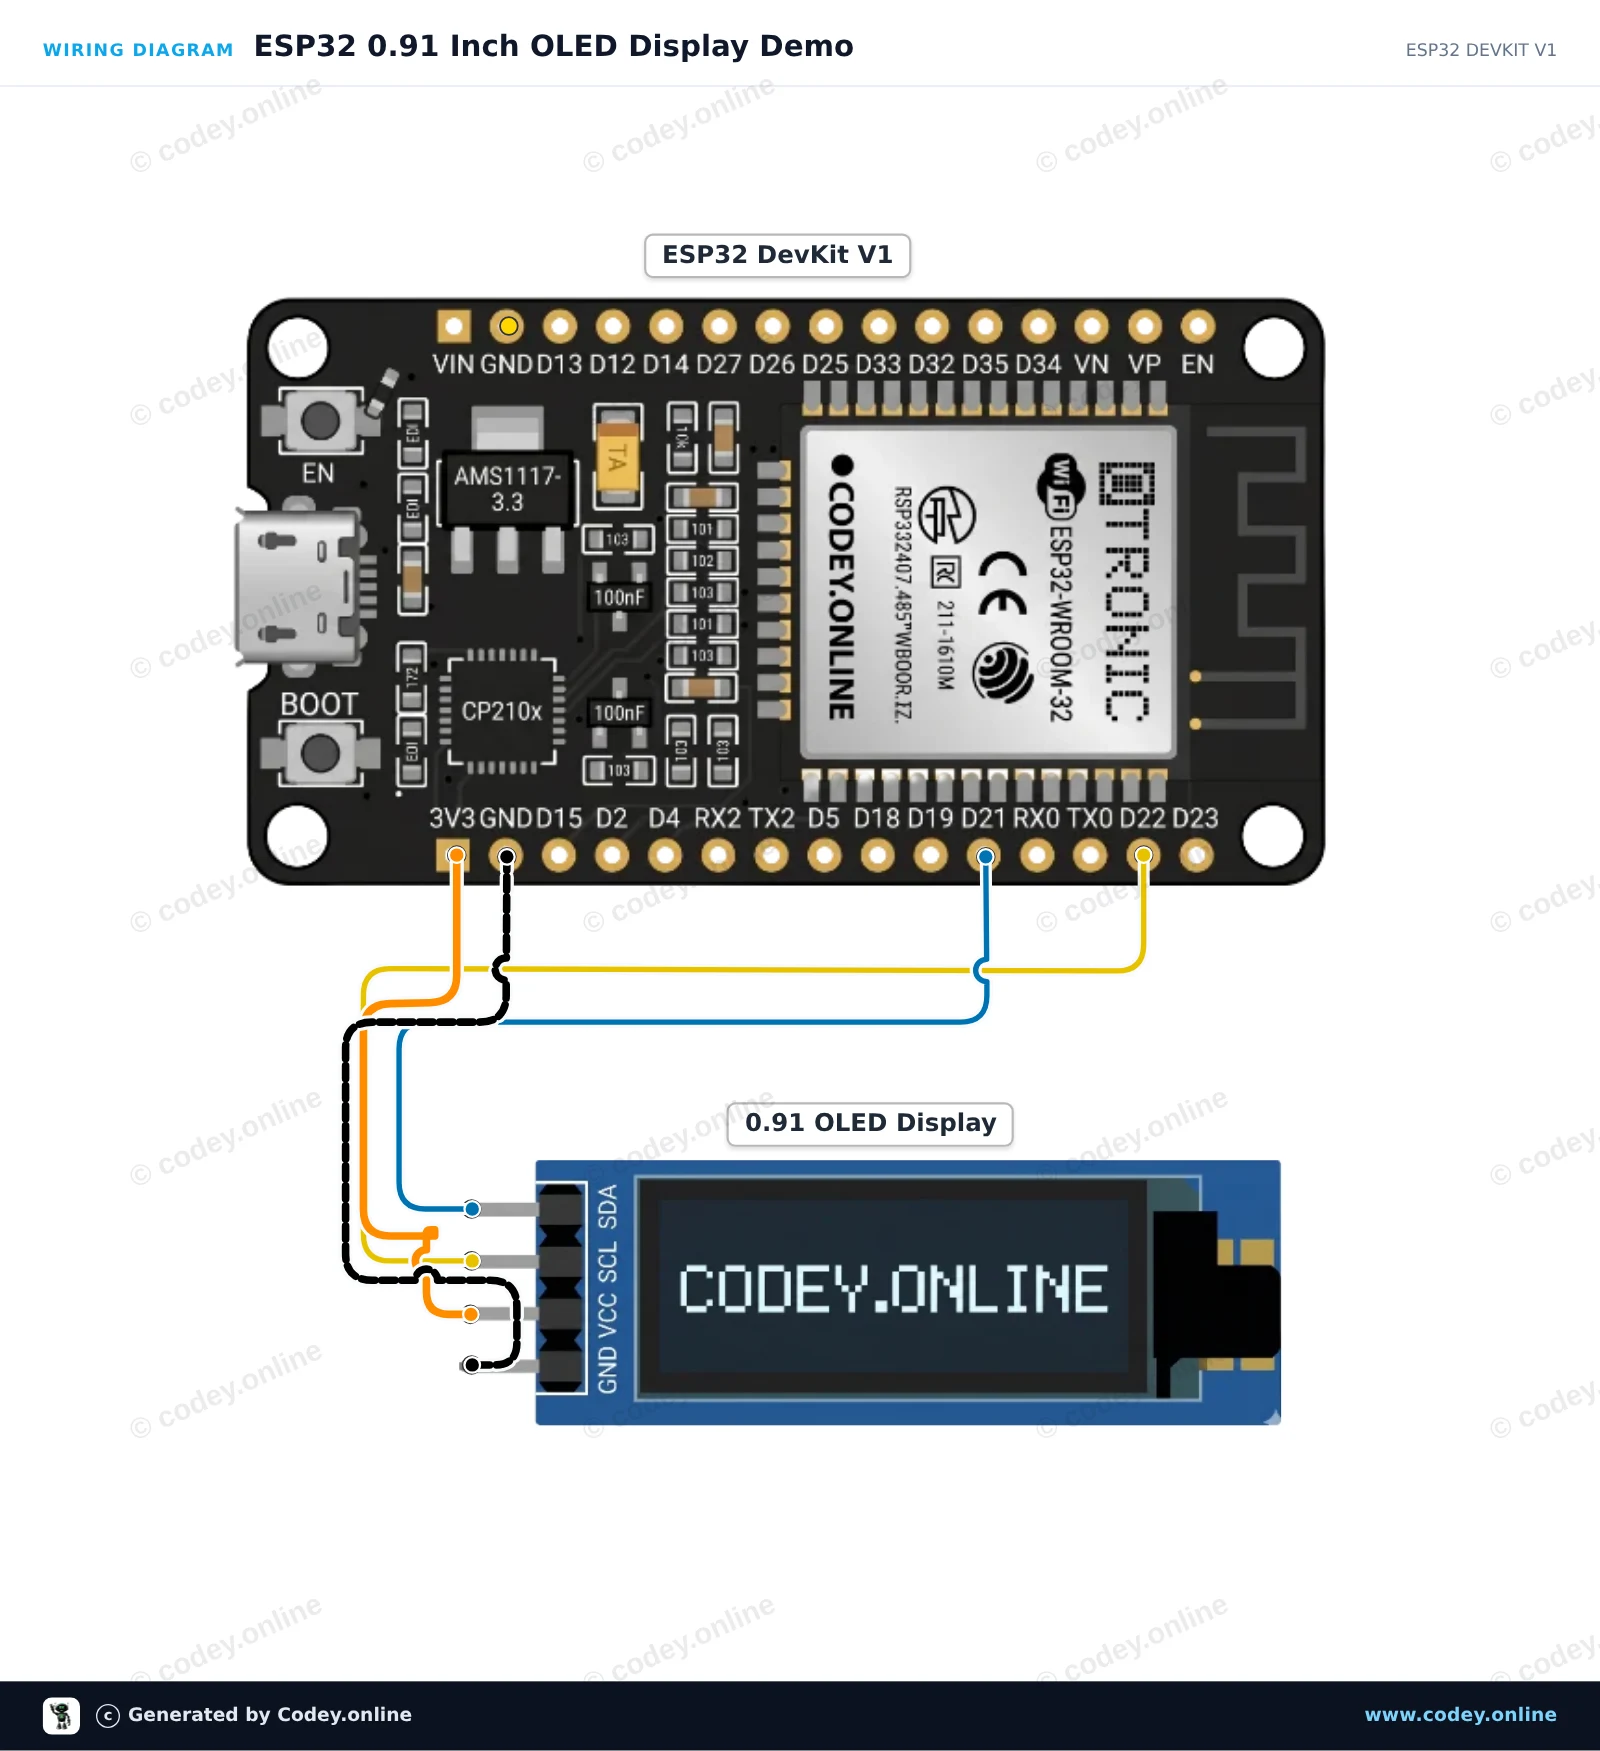
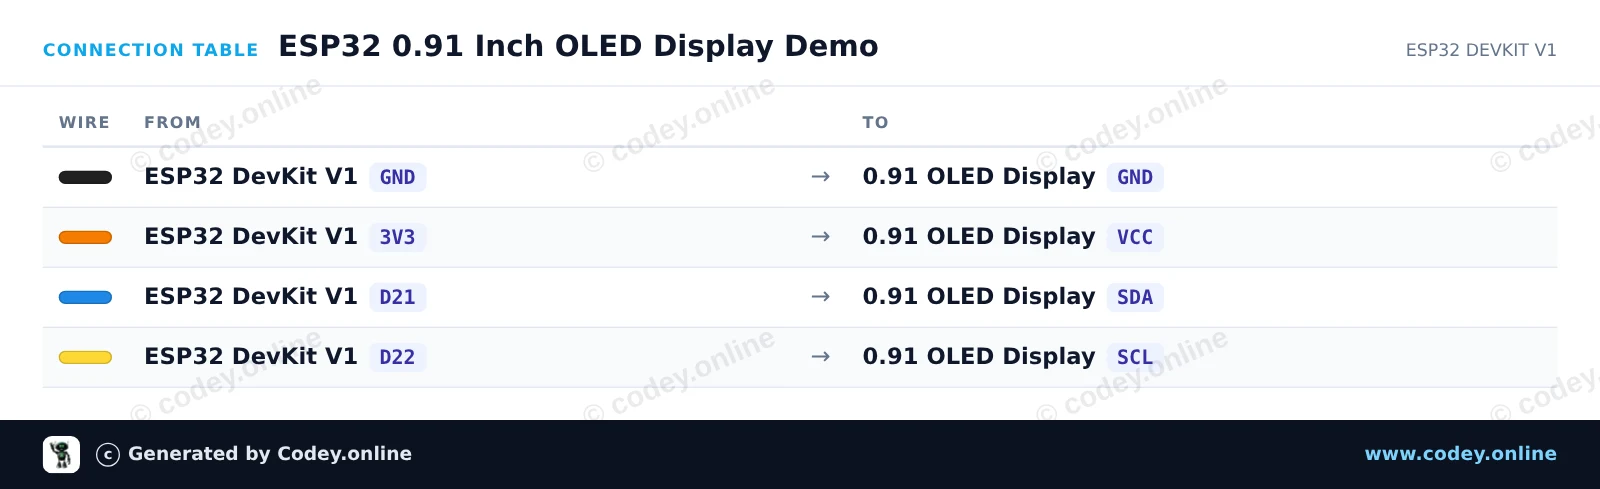
Dette projekt viser tekst og en løbende tæller på et 0.91-tommer 128x32 I2C OLED-display med ESP32. Tilslut displayet direkte til standard I2C-benene (GPIO 21 og 22), og forsyn det med 3.3V. Upload sketch, og se displayet opdatere hvert sekund.
/*
 * ==================================================================
 *  Generated by Codey.online  —  https://www.codey.online
 * ==================================================================
 *  Project   : ESP32 0.91 Inch OLED Display Demo
 *  Board     : ESP32 DEVKIT V1 (esp32:esp32:esp32doit-devkit-v1)
 *  Parts     : OLED Display 0.91 inch
 *  Libraries : Adafruit SSD1306 2.5.16, Adafruit GFX Library 1.12.6
 *
 *  Codey Online is an AI-powered browser IDE for Arduino and ESP32.
 *  Describe your project and Codey writes the code, draws the wiring
 *  diagram and uploads it to your board, straight from the browser.
 *  This code is free to use, modify and share, without warranty.
 * ==================================================================
 */

#include <Wire.h>
#include <Adafruit_GFX.h>
#include <Adafruit_SSD1306.h>

#define SCREEN_WIDTH 128
#define SCREEN_HEIGHT 32
#define OLED_RESET -1
#define SCREEN_ADDRESS 0x3C

Adafruit_SSD1306 display(SCREEN_WIDTH, SCREEN_HEIGHT, &Wire, OLED_RESET);

int counter = 0;

void setup() {
  Serial.begin(115200);

  // Initialize I2C on ESP32 default pins: SDA (GPIO 21), SCL (GPIO 22)
  Wire.begin(21, 22);

  if (!display.begin(SSD1306_SWITCHCAPVCC, SCREEN_ADDRESS)) {
    Serial.println(F("SSD1306 allocation failed"));
    while (true);
  }

  display.clearDisplay();
  display.setTextSize(1);
  display.setTextColor(SSD1306_WHITE);
  display.setCursor(0, 0);
  display.println(F("ESP32 OLED Demo"));
  display.display();
  delay(2000);
}

void loop() {
  display.clearDisplay();

  display.setTextSize(1);
  display.setTextColor(SSD1306_WHITE);
  display.setCursor(0, 0);
  display.println(F("Hello from ESP32!"));

  display.setTextSize(2);
  display.setCursor(0, 14);
  display.print(F("Count: "));
  display.print(counter);

  display.display();

  counter++;
  delay(1000);
}Nødvendige biblioteker: Adafruit SSD1306 2.5.16, Adafruit GFX Library 1.12.6
Wiring diagram and example code generated by Codey.online — https://www.codey.online





 English
  Nederlands
  Frans
Frans  Deutsch
  Italiano
  Español
  Suomi
Suomi  Polski
  Ελληνικά
  Български
  Čeština
  Hrvatski
  Aileen