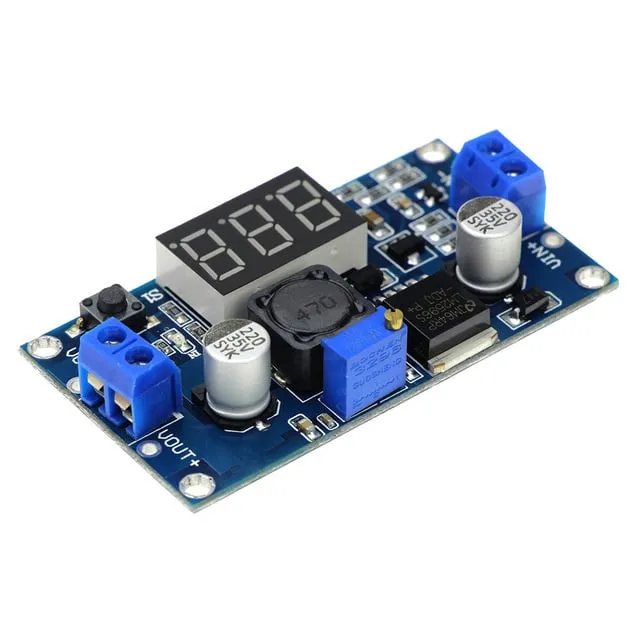
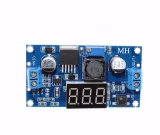
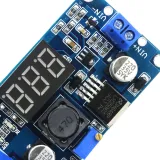
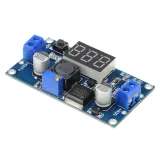
SKU: OT3593 Varenummer: NA068 EAN: 8720618489616

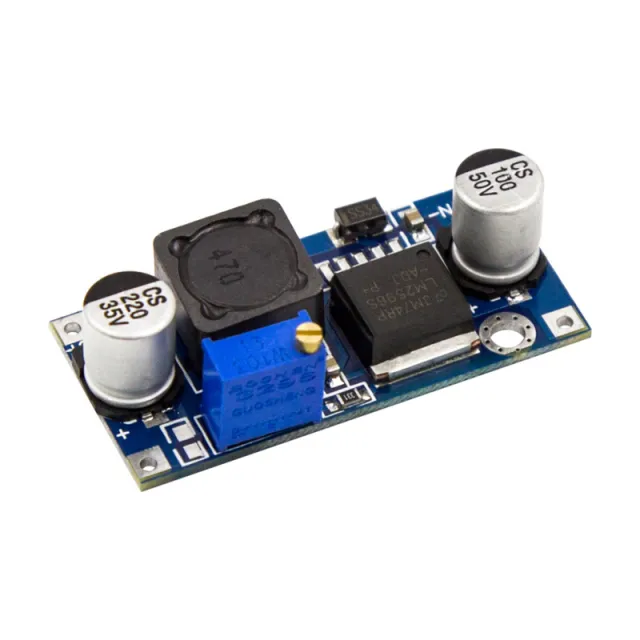
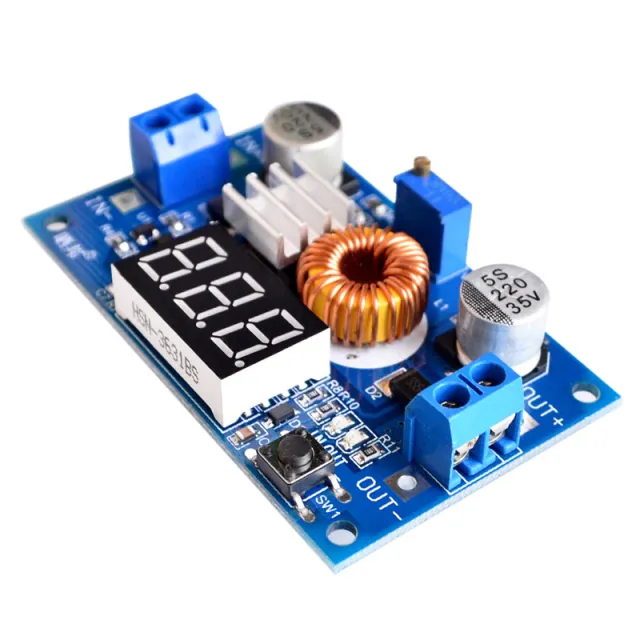
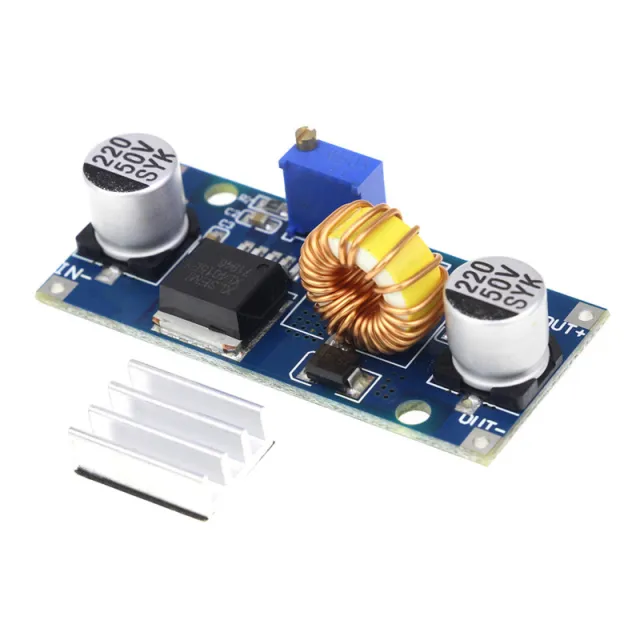
Indgangsspænding 4,0 ~ 40V. (Indgangsspændingen skal være højere end udgangsspændingen med 1,5 V eller mere)
Justerbart udgangsspændingsområde fra 1,25V ~ 37V trinløst justerbart. (Indgangsspændingen skal være højere end udgangsspændingen med 1,5V)
Udgangsstrøm 3A, anbefalinger til brug inden for 2.0A, høj strøm er nødvendig for at forbedre varmeafledningen.
Udgangseffekt 20W, 15W, forbedr varmeafledningen.
Høj konverteringseffektivitet, gennemsnitligt 88% (effektiviteten afhænger af indgangs- og udgangsspænding, strøm, trykrelateret)
Med beskyttelse mod omvendt polaritet
Mål 6.1 * 3.4 * 12 cm (L * B * H)
Afmetingen
Længde: 6,5cm
Bredde: 3,5cm
Højde: 1,2cm
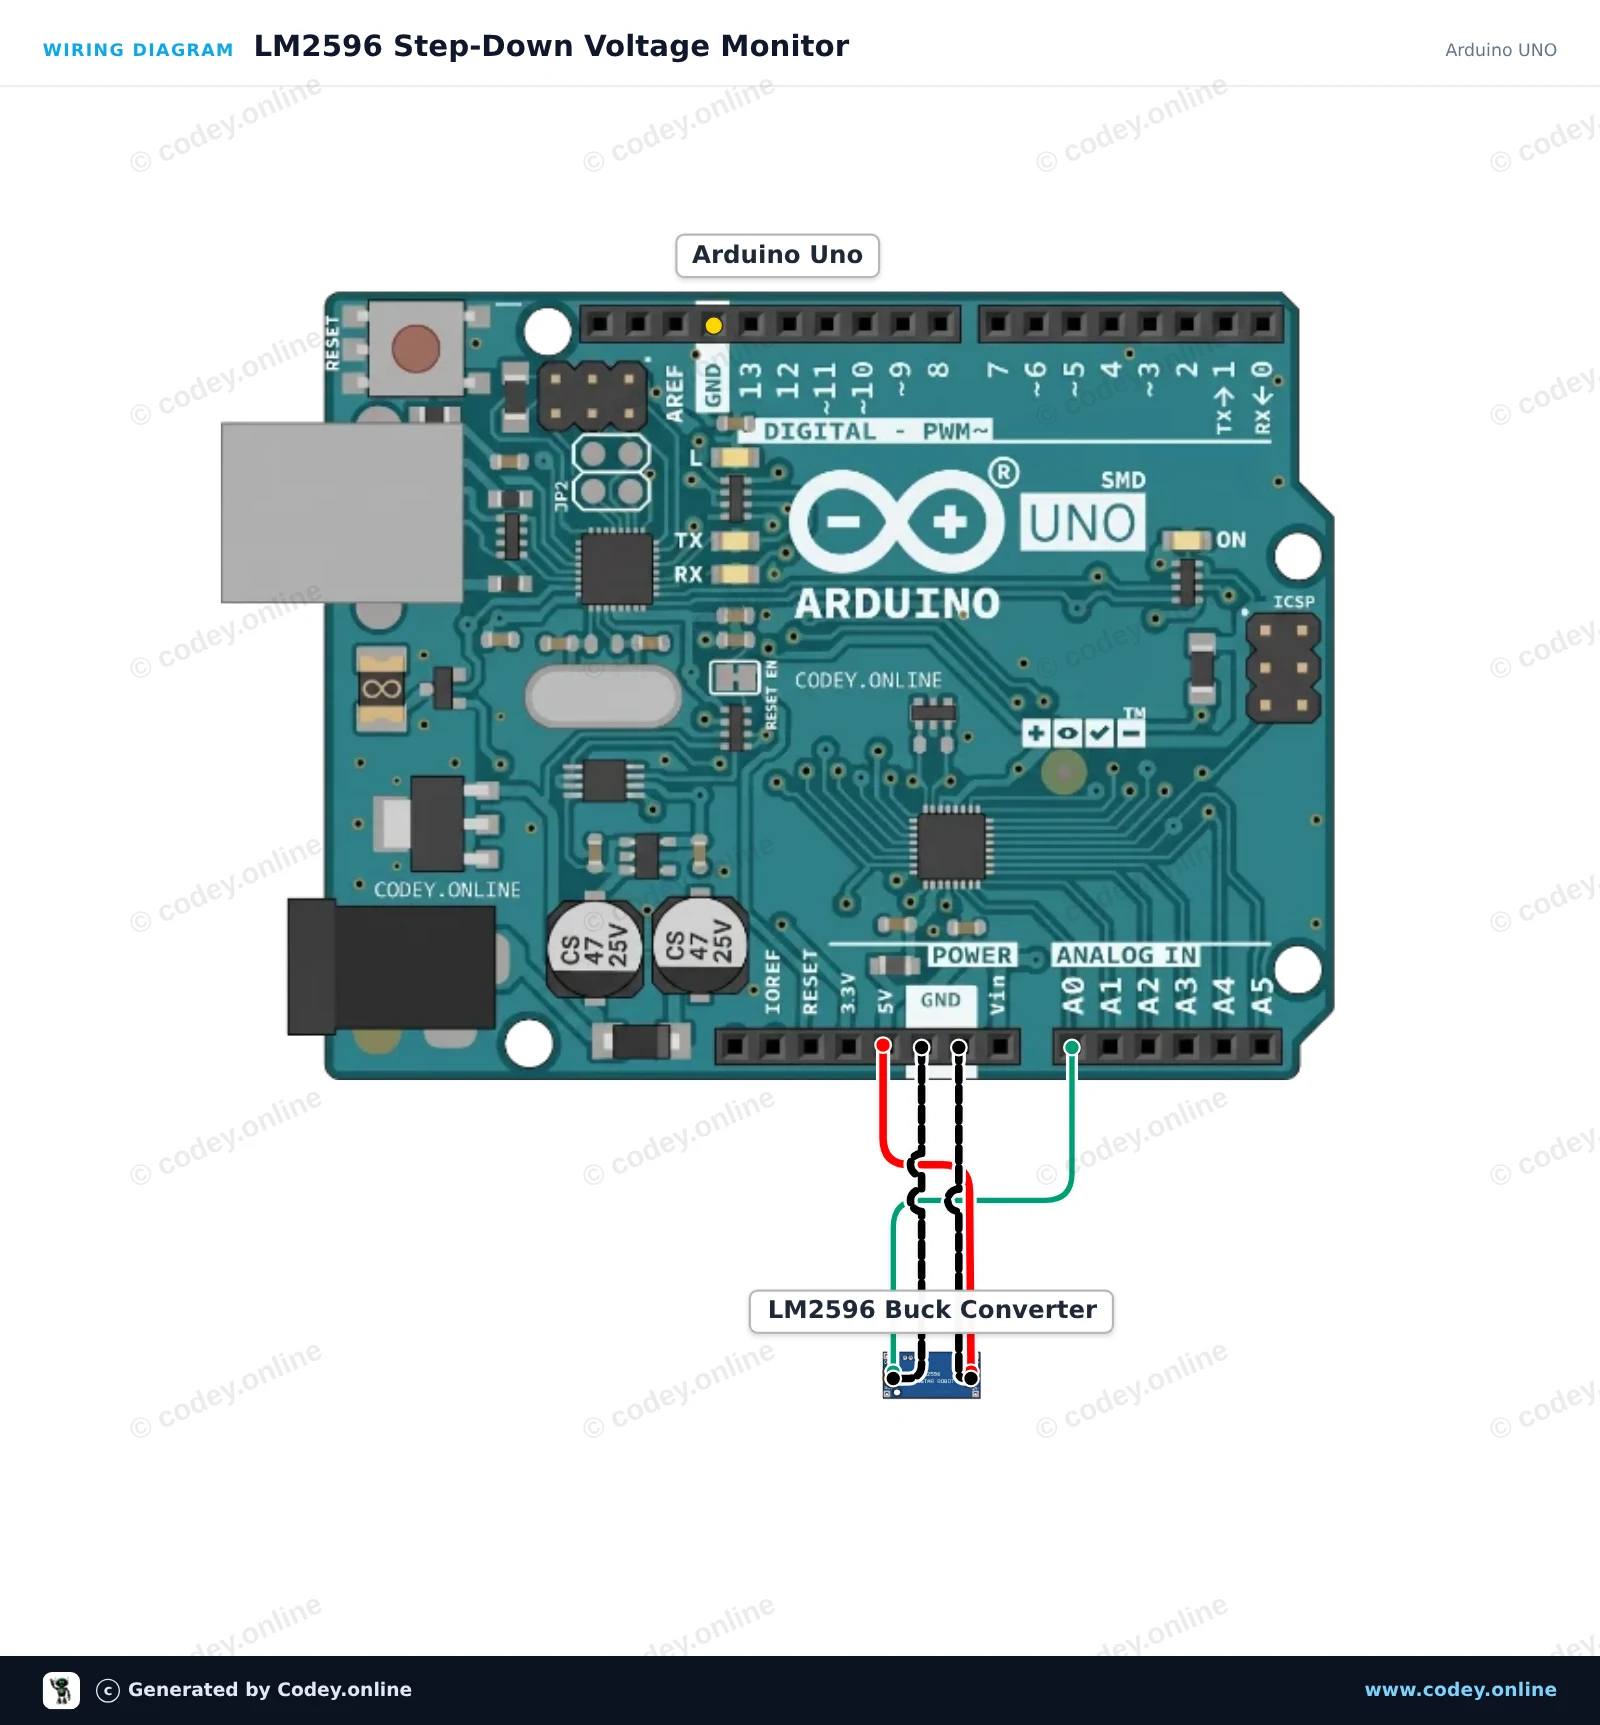
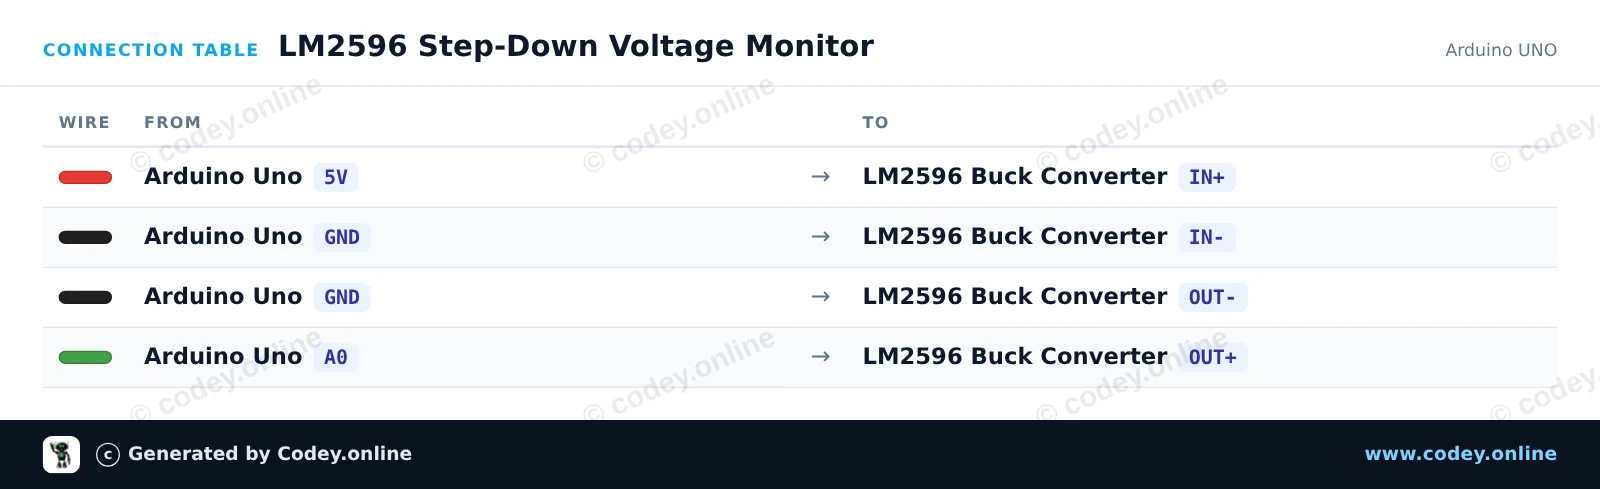
Sådan tilslutter du LM2596S Justerbar Step-Down 4-40V -> 1.25-37V med onboard voltmeterdisplay til en Arduino UNO eller ESP32, med en eksempelsketch, du kan uploade med det samme.
Dette projekt måler udgangsspændingen fra et LM2596 buck-convertermodul ved hjælp af Arduinos analoge inputpin A0. Forsyn modulets input fra Arduinos 5V-rail (eller en ekstern strømforsyning op til 40V) og drej på det onboard potentiometer for at se den målte udgangsspænding ændre sig i Serial Monitor.
/*
 * ==================================================================
 *  Generated by Codey.online  —  https://www.codey.online
 * ==================================================================
 *  Project   : LM2596 Step-Down Voltage Monitor
 *  Board     : Arduino UNO (arduino:avr:uno)
 *  Parts     : Adjustable Step-down Module 3-40VDC 1.5-35VDC LM2596
 *  Libraries : none (built-in)
 *
 *  Codey Online is an AI-powered browser IDE for Arduino and ESP32.
 *  Describe your project and Codey writes the code, draws the wiring
 *  diagram and uploads it to your board, straight from the browser.
 *  This code is free to use, modify and share, without warranty.
 * ==================================================================
 */

const int voltagePin = A0;

void setup() {
  Serial.begin(115200);
  while (!Serial) {
    ; // Wait for serial port to connect
  }
  Serial.println(F("LM2596 Step-Down Module Monitor"));
  Serial.println(F("Turn the onboard brass potentiometer to adjust output voltage."));
  Serial.println(F("-----------------------------------------------------------"));
}

void loop() {
  // Read the analog voltage (0 to 1023 corresponds to 0V to 5V)
  int rawValue = analogRead(voltagePin);
  float voltage = (rawValue * 5.0) / 1023.0;

  Serial.print(F("Raw ADC: "));
  Serial.print(rawValue);
  Serial.print(F(" | Output Voltage: "));
  Serial.print(voltage, 2);
  Serial.println(F(" V"));

  delay(500);
}Wiring diagram and example code generated by Codey.online — https://www.codey.online
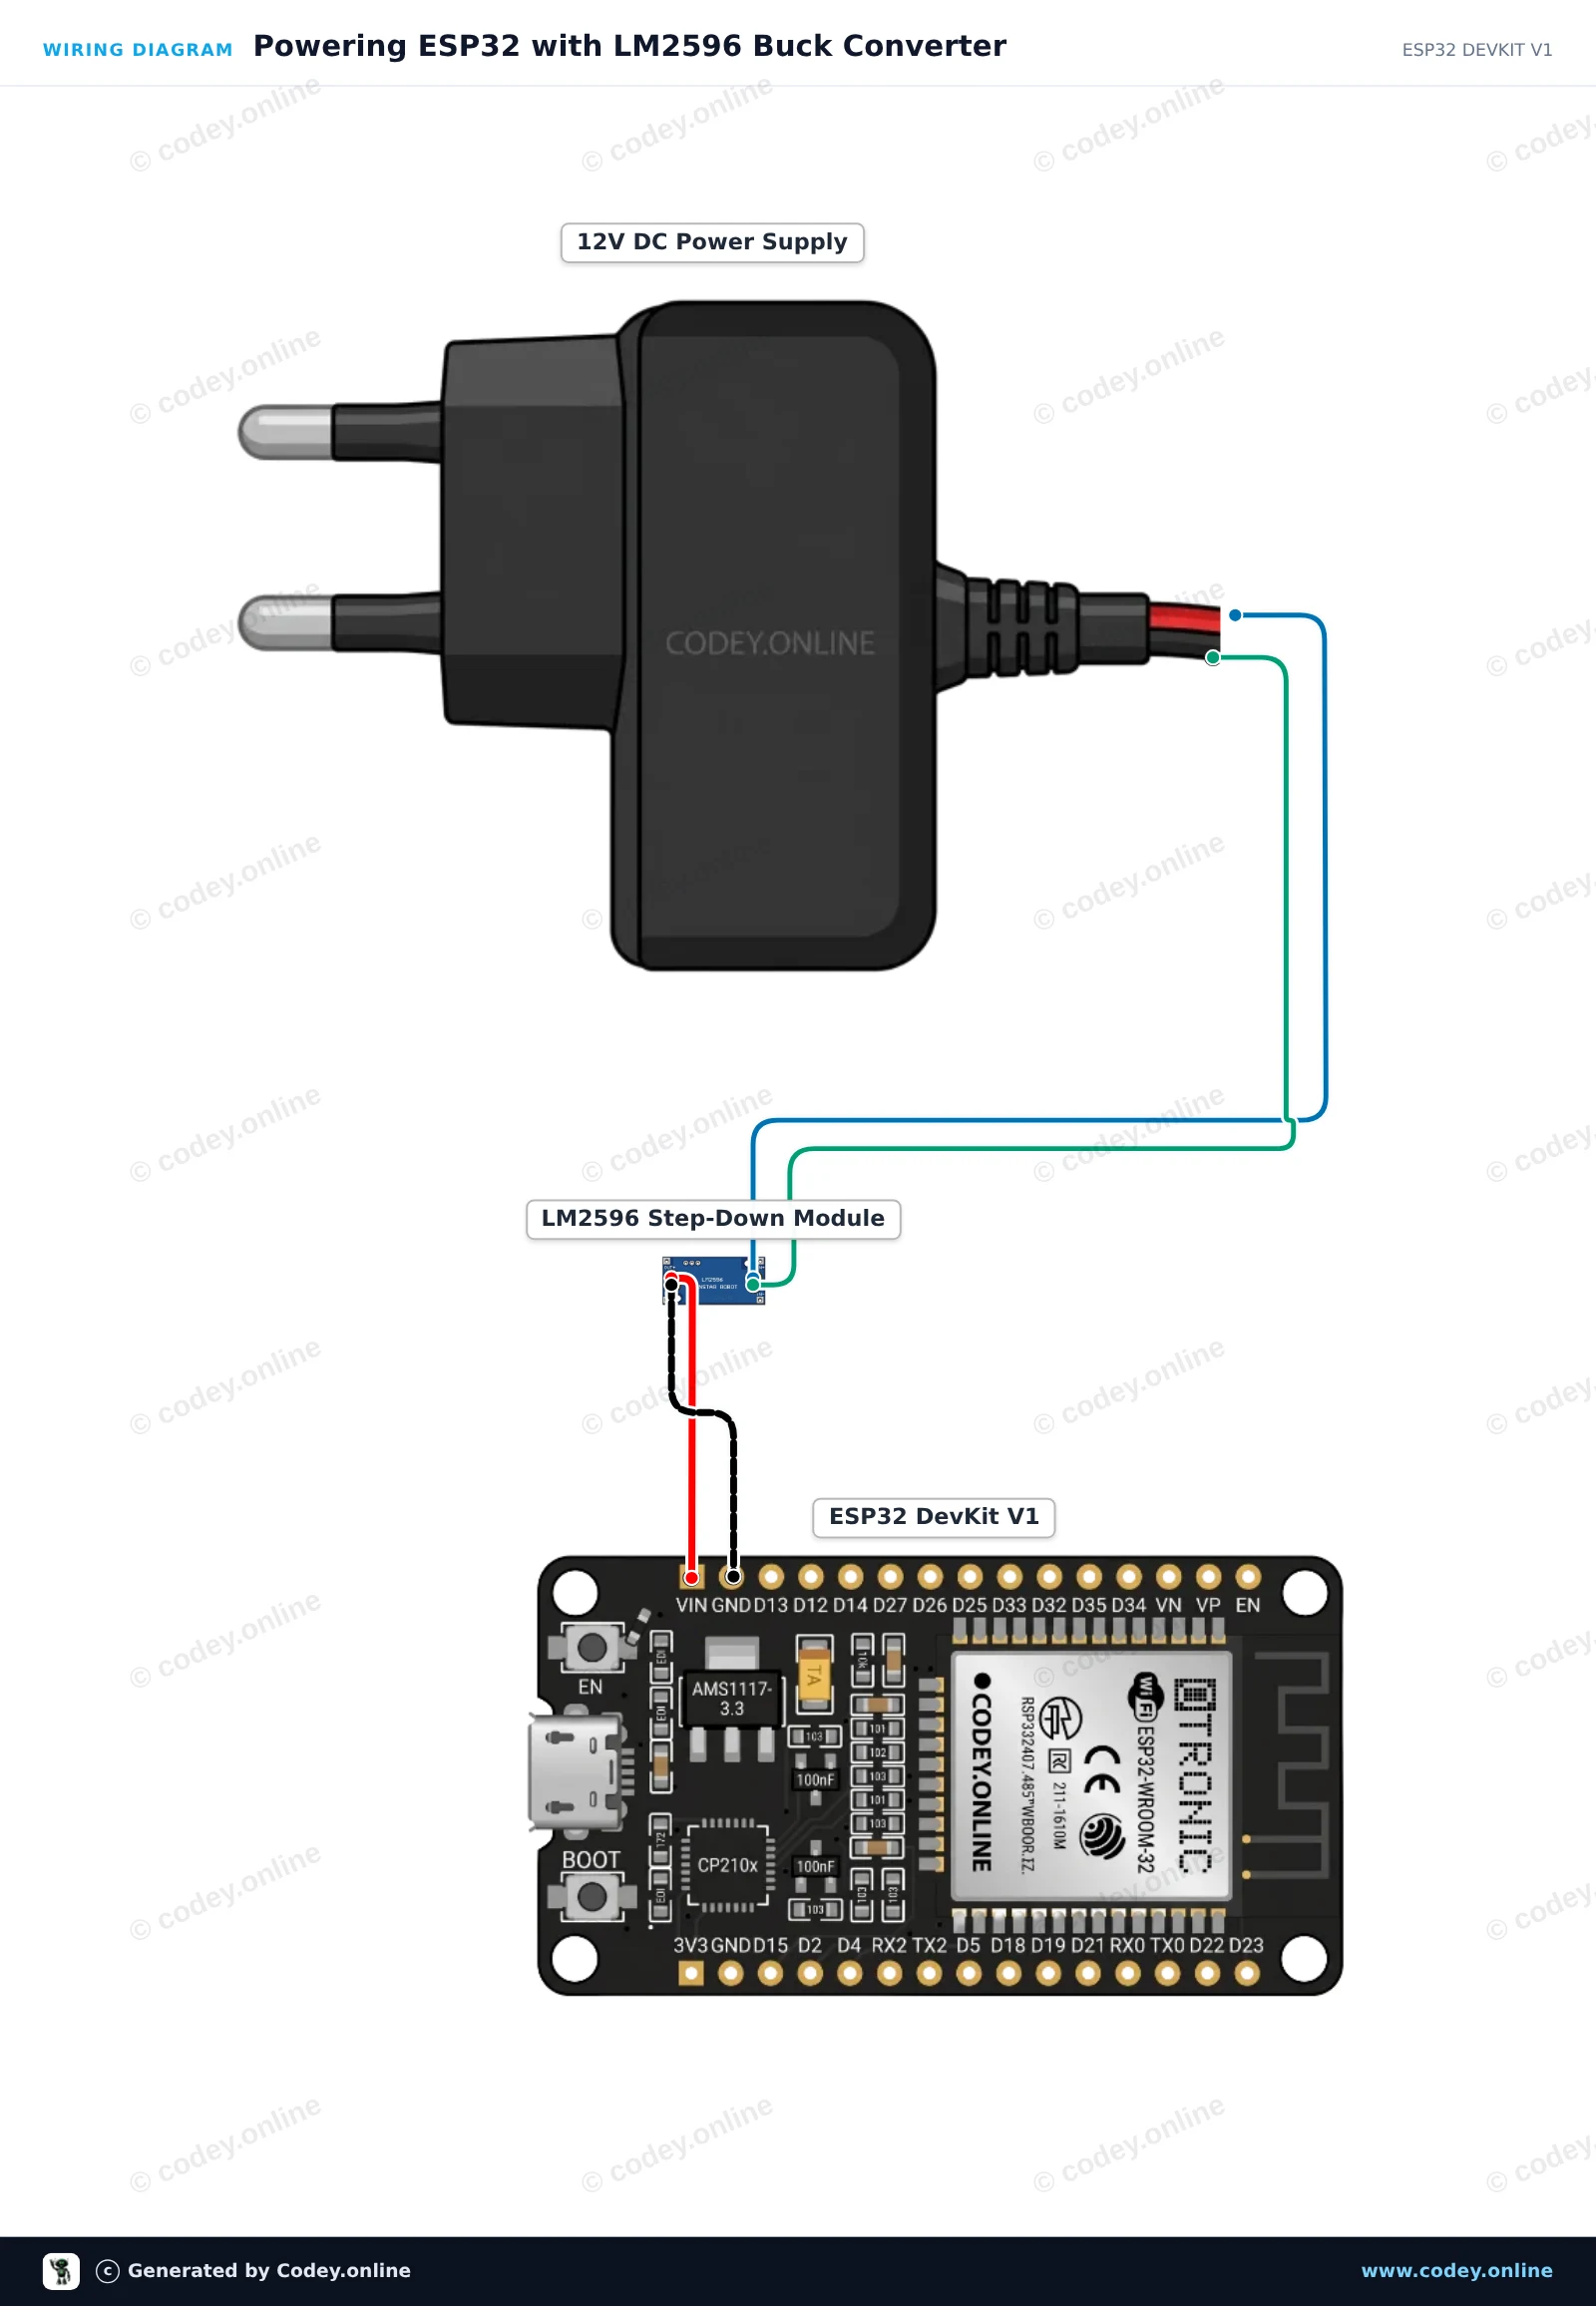
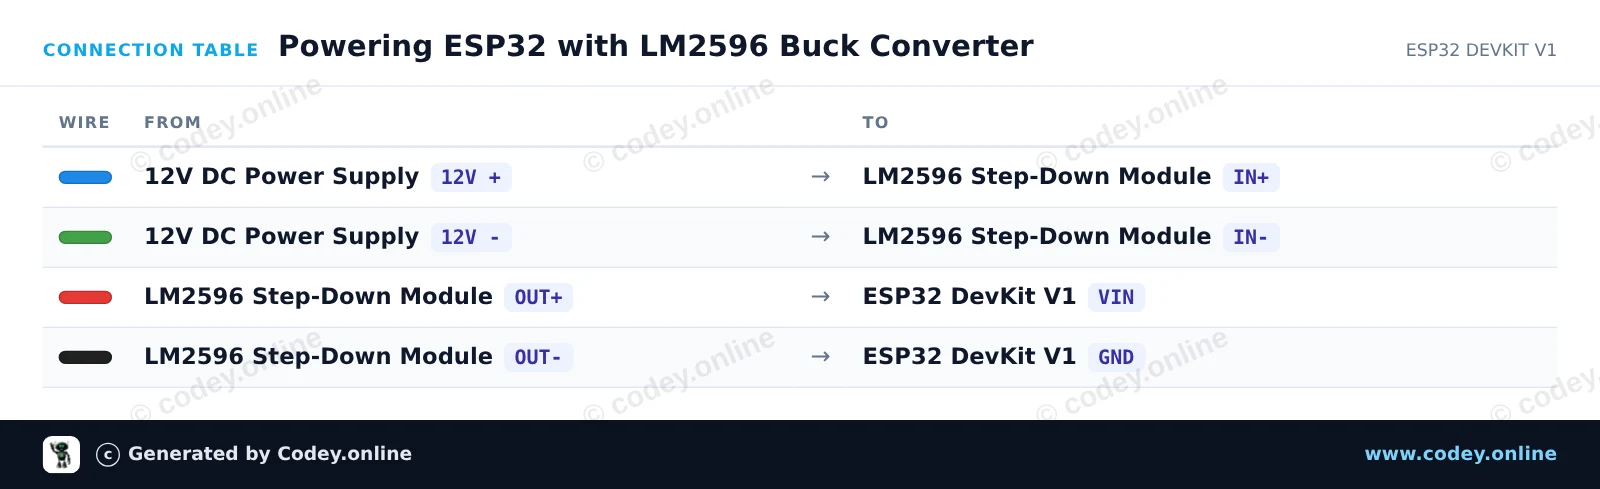
Dette kredsløb bruger et LM2596 step-down-modul til at regulere en 12V DC-indgang ned til stabile 5V til ESP32'ens VIN-pin. Før du tilslutter ESP32, skal du justere den indbyggede trimmer, indtil udgangsspændingen måler præcis 5.0V med et multimeter. Når den er tilsluttet, blinker ESP32'ens indbyggede LED og sender en heartbeat-besked i Serial Monitor.
/*
 * ==================================================================
 *  Generated by Codey.online  —  https://www.codey.online
 * ==================================================================
 *  Project   : Powering ESP32 with LM2596 Buck Converter
 *  Board     : ESP32 DEVKIT V1 (esp32:esp32:esp32doit-devkit-v1)
 *  Parts     : Adjustable Step-down Module 3-40VDC 1.5-35VDC LM2596
 *  Libraries : none (built-in)
 *
 *  Codey Online is an AI-powered browser IDE for Arduino and ESP32.
 *  Describe your project and Codey writes the code, draws the wiring
 *  diagram and uploads it to your board, straight from the browser.
 *  This code is free to use, modify and share, without warranty.
 * ==================================================================
 */

const int LED_PIN = 2;
unsigned long counter = 0;

void setup() {
  Serial.begin(115200);
  pinMode(LED_PIN, OUTPUT);

  Serial.println("LM2596 Step-Down Powered ESP32 Started!");
  Serial.println("Ensure LM2596 output was calibrated to 5.0V before connecting to VIN.");
}

void loop() {
  digitalWrite(LED_PIN, HIGH);
  delay(500);
  digitalWrite(LED_PIN, LOW);
  delay(500);

  counter++;
  Serial.print("ESP32 running stably on buck regulator. Heartbeat count: ");
  Serial.println(counter);
}Wiring diagram and example code generated by Codey.online — https://www.codey.online






 English
  Nederlands
  Frans
Frans  Deutsch
  Italiano
  Español
  Suomi
Suomi  Polski
  Ελληνικά
  Български
  Čeština
  Hrvatski
  Aileen