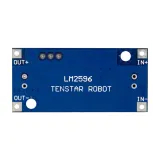
SKU: OT2073-B48 Varenummer: AA104 EAN: 4772496877447

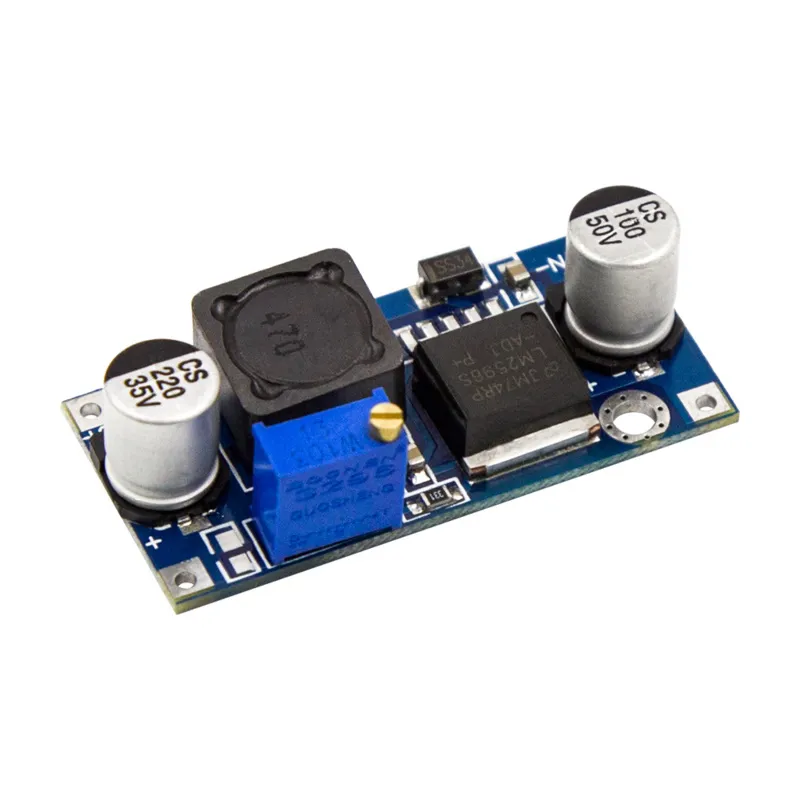
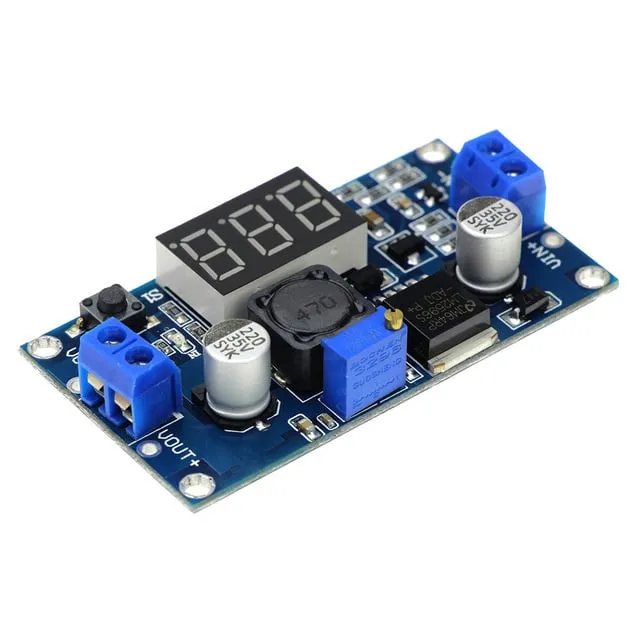
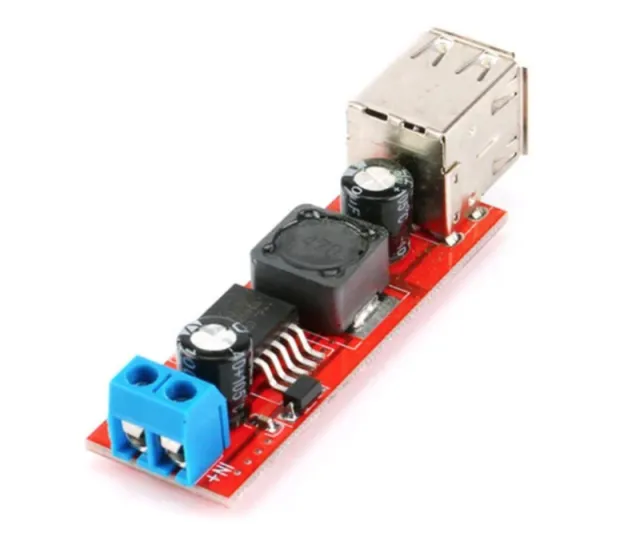
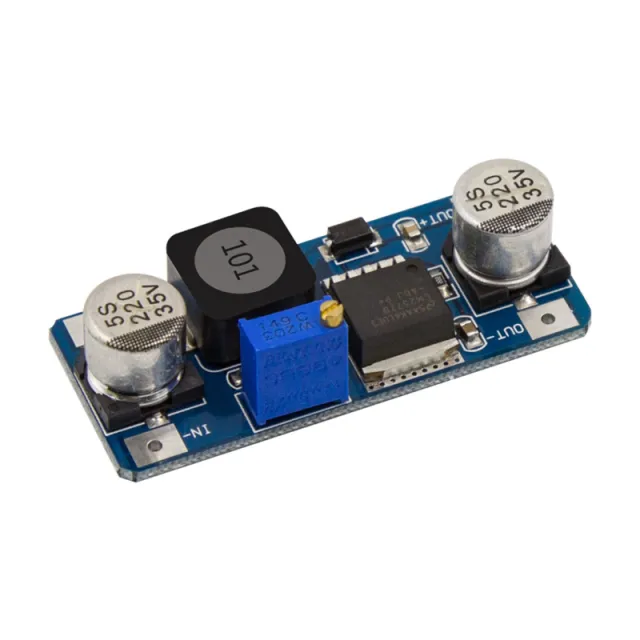
Med LM2596 step-down module kan du omdanne en DC inputspænding mellem 3V og 40V til en justerbar DC outputspænding på 1.5V til 35V. LM2596 modulet stabiliserer udgangsspændingen og forbliver stabilt, så længe indgangsspændingen ikke er lavere end 10% over udgangsspændingen. Det kan for eksempel være praktisk til at forsyne elektroniske apparater, der arbejder ved en lavere spænding end den standard forsyningsspænding. LM2596 modulet er udstyret med et potentiometer, som gør det nemt at justere udgangsspændingen.
Modulet har en udgangsstrøm på maks. 3A ved en effektivitet på op til 92%. LM2596 har indbyggede beskyttelsesfunktioner (såsom mod overophedning, overstrøm og kortslutning) for at sikre, at dit udstyr forsynes sikkert.
Tekniske specifikationer:
- Indgangsspænding: 3V - 40V DC
- Udgangsspænding: 1.5V - 35V DC (justerbar)
- Maksimal udgangsstrøm: 3A
- Effektivitet: op til 92%
- Indbyggede beskyttelsesfunktioner (overophedning, overstrøm, kortslutning)
- Mål: 43mm x 21mm x 14mm
Sådan tilslutter du Justerbar step-down module 3-40VDC til 1.5-35VDC LM2596 til en Arduino UNO eller ESP32, med en eksempelsketch, du kan uploade med det samme.
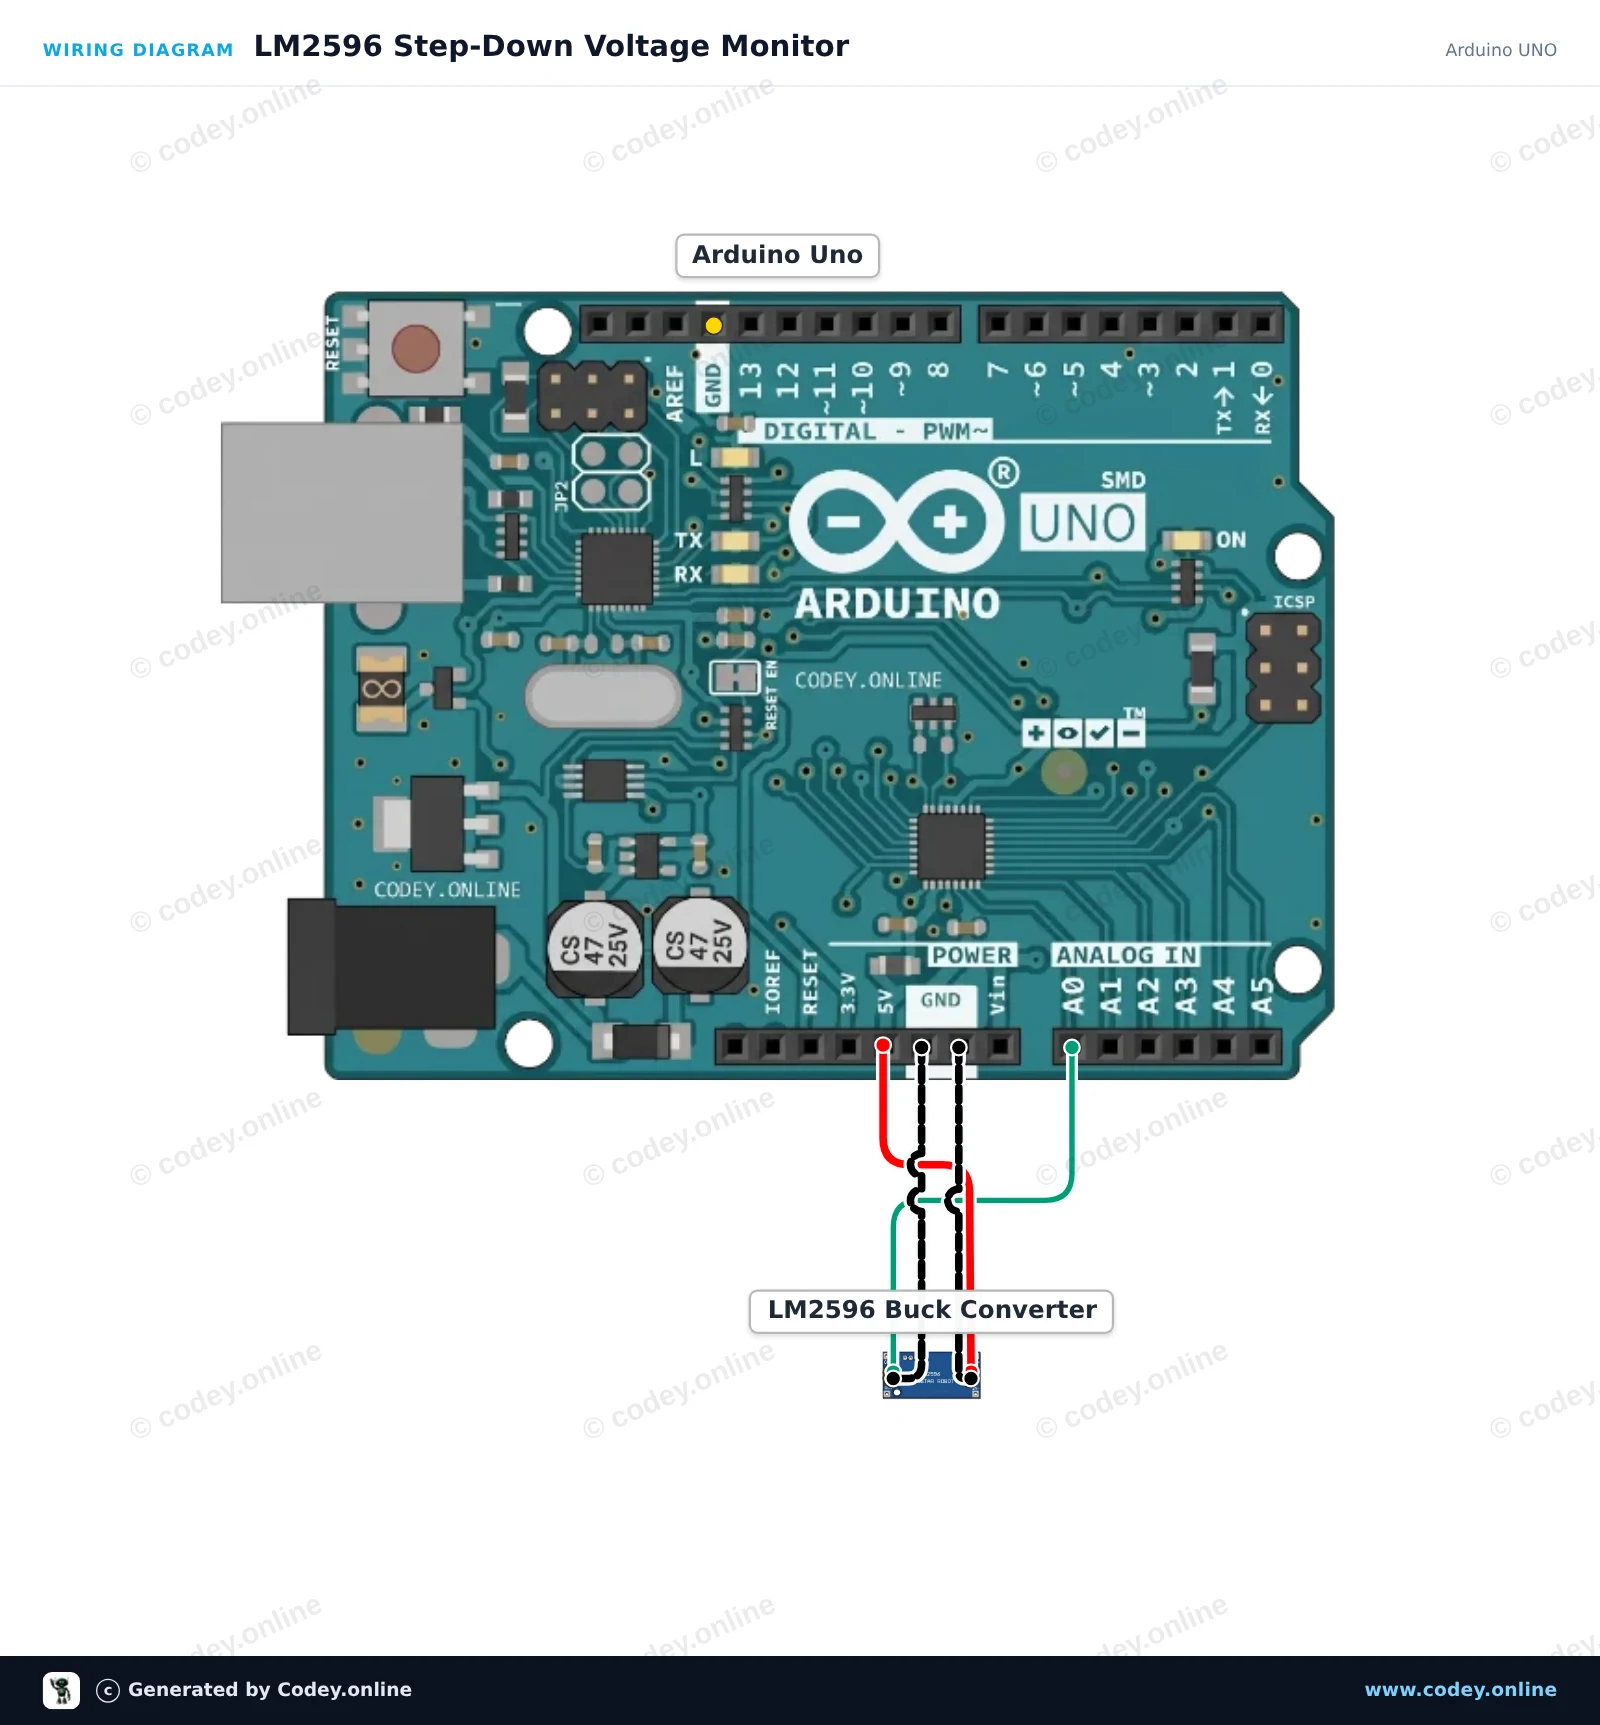
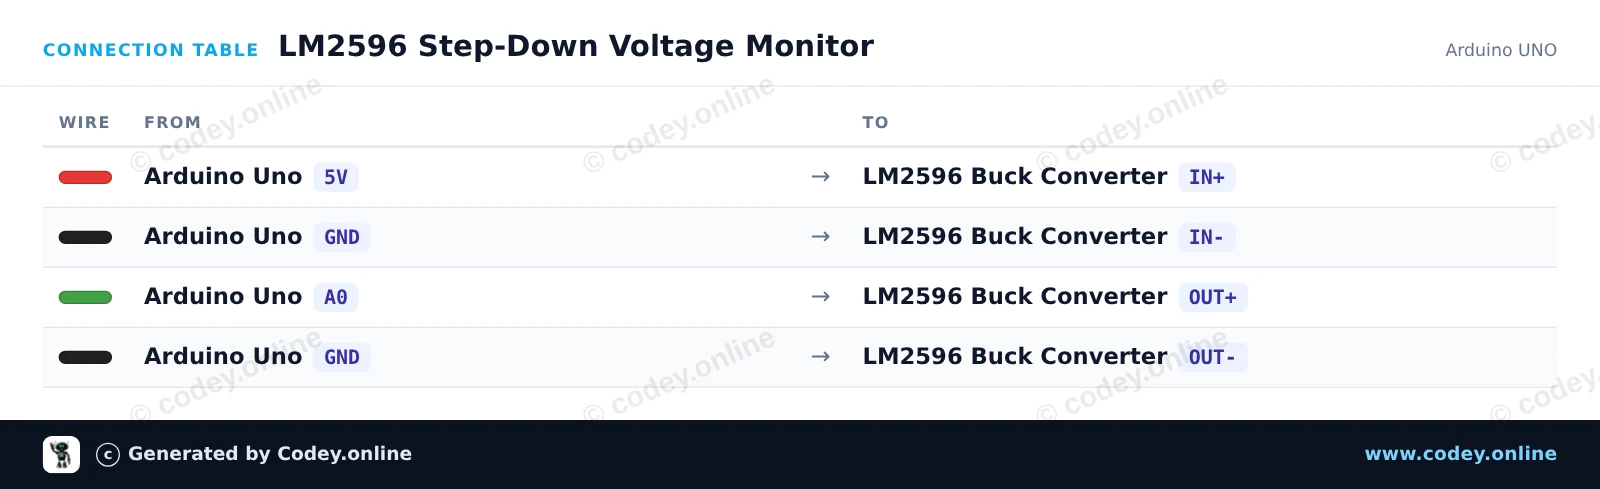
Dette projekt overvåger udgangsspændingen fra den justerbare LM2596 step-down-konverter ved hjælp af den analoge pin A0. Forsyn modulet fra Arduino 5V/VIN-pin, og drej på det indbyggede potentiometer for at se den målte spænding blive opdateret i Serial Monitor (sørg for, at udgangsspændingen ikke overstiger 5V).
/*
 * ==================================================================
 *  Generated by Codey.online  —  https://www.codey.online
 * ==================================================================
 *  Project   : LM2596 Step-Down Voltage Monitor
 *  Board     : Arduino UNO (arduino:avr:uno)
 *  Parts     : Adjustable Step-down Module 3-40VDC 1.5-35VDC LM2596
 *  Libraries : none (built-in)
 *
 *  Codey Online is an AI-powered browser IDE for Arduino and ESP32.
 *  Describe your project and Codey writes the code, draws the wiring
 *  diagram and uploads it to your board, straight from the browser.
 *  This code is free to use, modify and share, without warranty.
 * ==================================================================
 */

// LM2596 Buck Converter Voltage Monitor
// Reads the regulated output on analog pin A0.
// Note: Keep the output voltage at or below 5.0V to protect the analog pin.

const int sensePin = A0;

void setup() {
  Serial.begin(115200);
  while (!Serial) {
    ; // Wait for Serial Monitor
  }
  Serial.println(F("LM2596 Step-Down Voltage Monitor Initialized"));
  Serial.println(F("Adjust the trimmer potentiometer on the module."));
}

void loop() {
  int rawValue = analogRead(sensePin);
  float voltage = rawValue * (5.0 / 1023.0);

  Serial.print(F("ADC Value: "));
  Serial.print(rawValue);
  Serial.print(F(" | Output Voltage: "));
  Serial.print(voltage, 2);
  Serial.println(F(" V"));

  delay(500);
}Wiring diagram and example code generated by Codey.online — https://www.codey.online
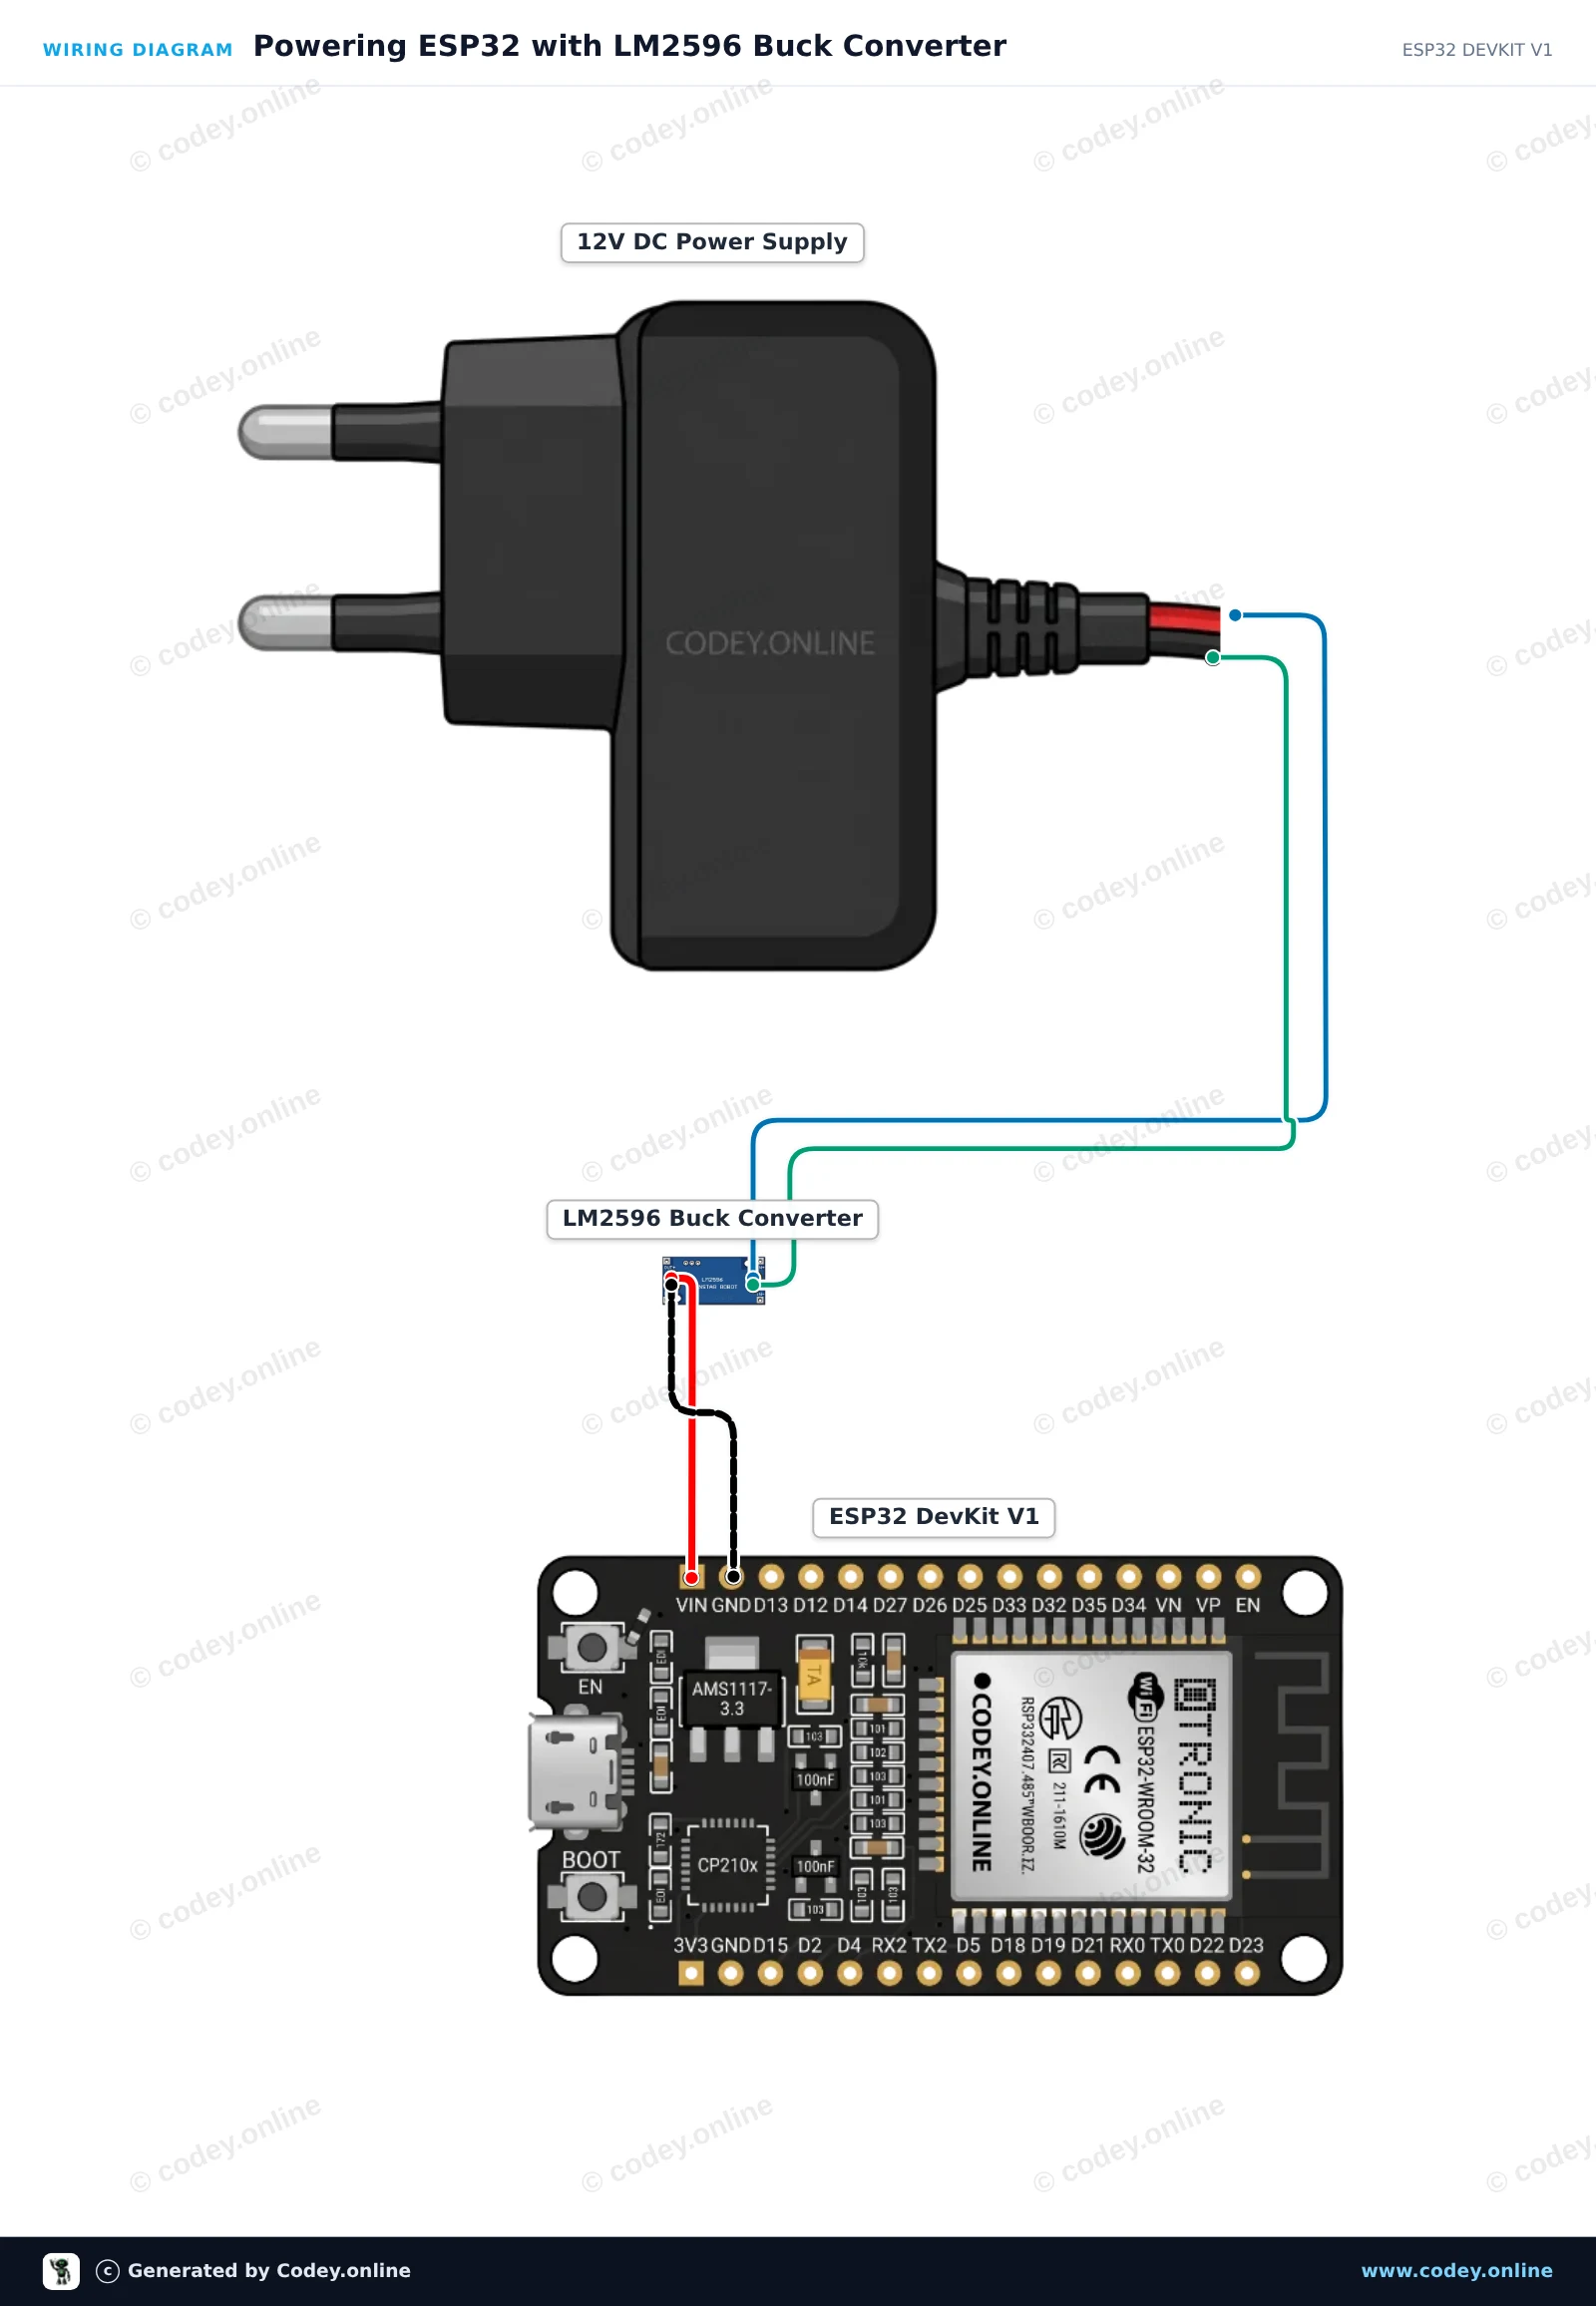
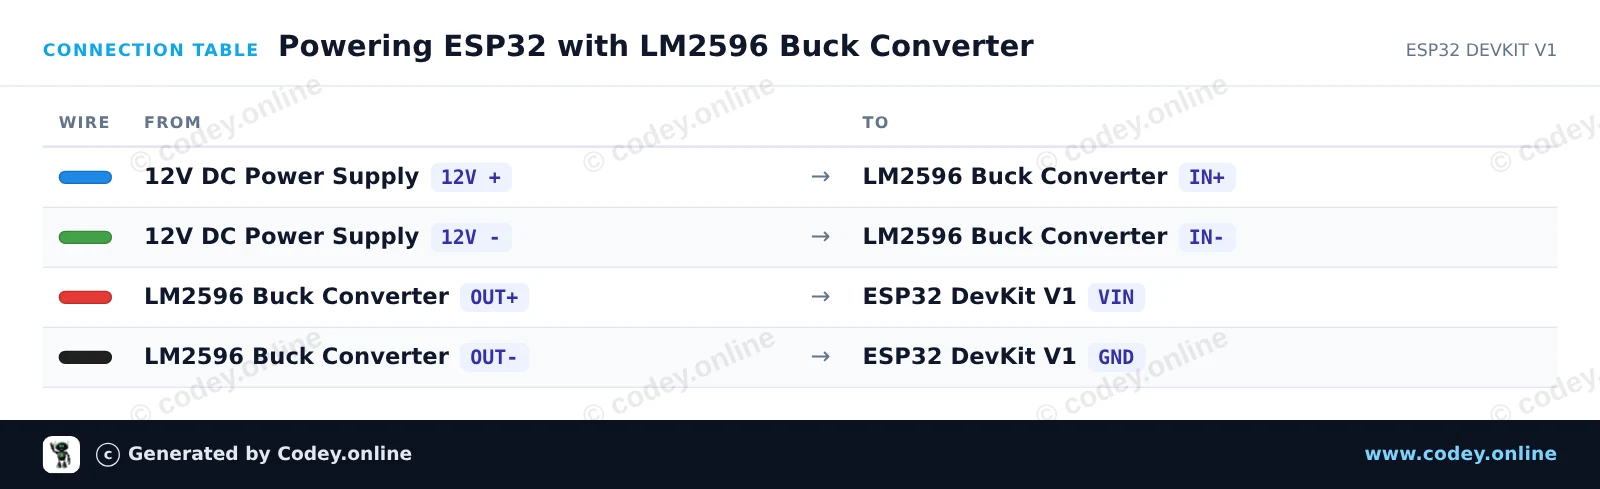
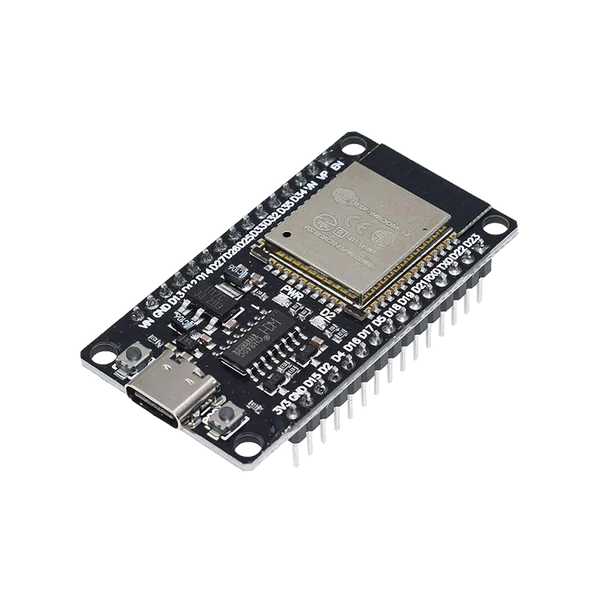
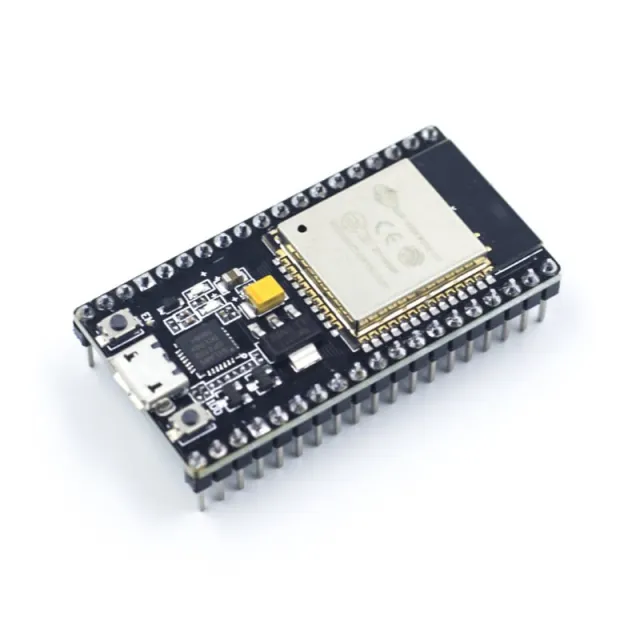
Denne opsætning bruger LM2596 step-down-modulet til at regulere en 12V DC-strømkilde ned til 5V for at forsyne ESP32 via dens VIN-pin. Før du tilslutter udgangen til ESP32, skal du bruge et multimeter og dreje på den onboard trimmerpotentiometer, indtil udgangen måler præcis 5.0V. ESP32 blinker med sin onboard status-LED og rapporterer uptime via Serial for at bekræfte stabil drift.
/*
 * ==================================================================
 *  Generated by Codey.online  —  https://www.codey.online
 * ==================================================================
 *  Project   : Powering ESP32 with LM2596 Buck Converter
 *  Board     : ESP32 DEVKIT V1 (esp32:esp32:esp32doit-devkit-v1)
 *  Parts     : Adjustable Step-down Module 3-40VDC 1.5-35VDC LM2596
 *  Libraries : none (built-in)
 *
 *  Codey Online is an AI-powered browser IDE for Arduino and ESP32.
 *  Describe your project and Codey writes the code, draws the wiring
 *  diagram and uploads it to your board, straight from the browser.
 *  This code is free to use, modify and share, without warranty.
 * ==================================================================
 */

// Onboard LED on ESP32 DevKit V1 is on GPIO 2
const int LED_PIN = 2;

void setup() {
  Serial.begin(115200);
  pinMode(LED_PIN, OUTPUT);

  Serial.println("LM2596 Step-Down Module ESP32 Power Demo");
}

void loop() {
  digitalWrite(LED_PIN, HIGH);
  Serial.print("ESP32 running stably on buck converter power. Uptime: ");
  Serial.print(millis() / 1000);
  Serial.println(" s");
  delay(1000);

  digitalWrite(LED_PIN, LOW);
  delay(1000);
}Wiring diagram and example code generated by Codey.online — https://www.codey.online





 English
  Nederlands
  Frans
Frans  Deutsch
  Italiano
  Español
  Suomi
Suomi  Polski
  Ελληνικά
  Български
  Čeština
  Hrvatski
  Svenska
  Aileen