SKU: OT951-C101 Varenummer: XG648 EAN: 4502076751917

se her tilslutningsdiagrammet og eksempel-koden >>>
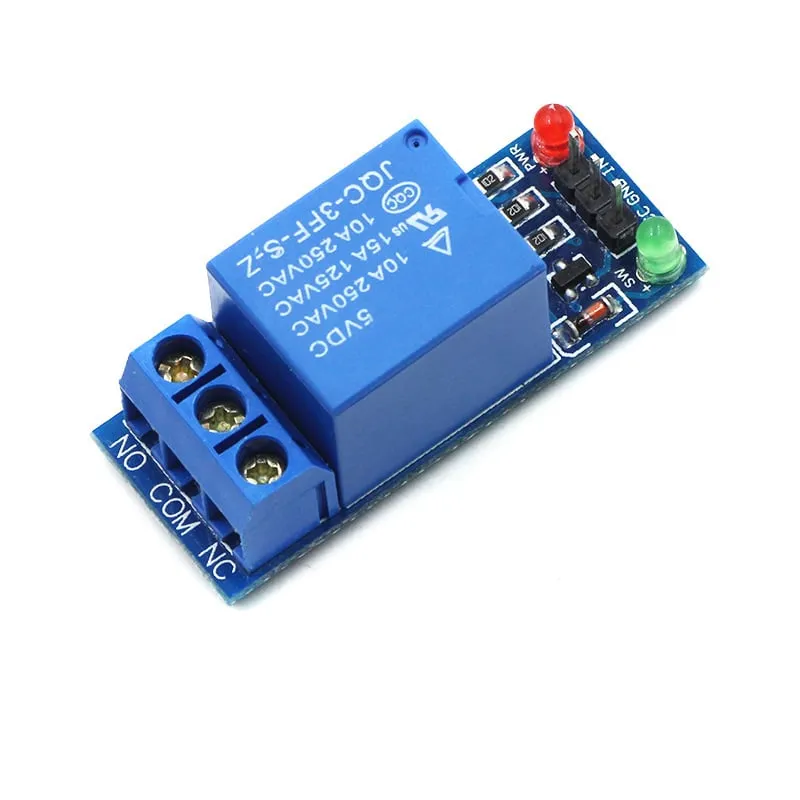
Søgeord: relæ 5v, 5v relæ, relay 5v, 5v relay, relæ lav, relæ low, relay low, blå relæ, relæ blå, relæ 250v, relæ 220v, relæ 1 kanal, relæ 1-kanals, relay 1 channel
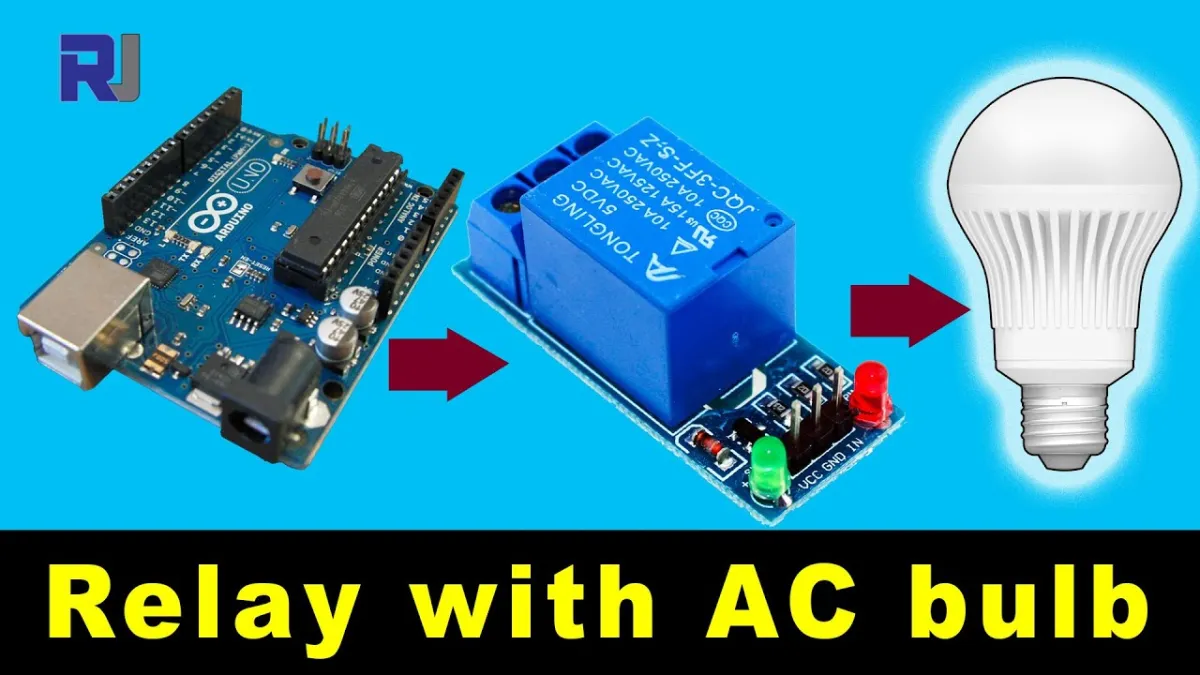
Ved afspilning indlæses videoen fra YouTube.
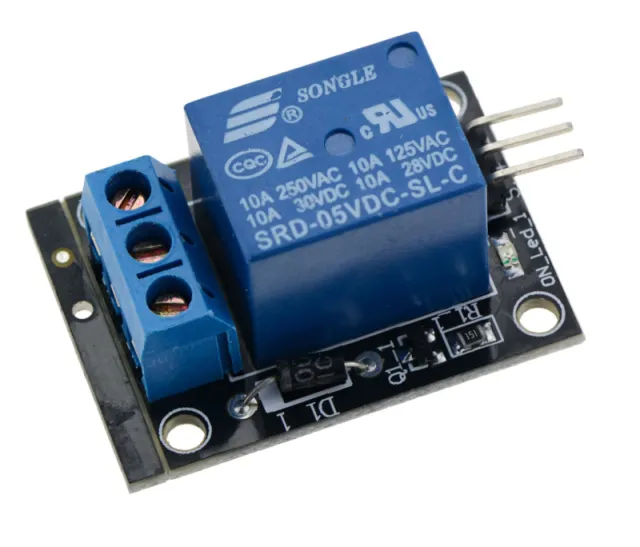
Sådan tilslutter du Relæ Modul 5v Low til en Arduino UNO eller ESP32, med en eksempelsketch, du kan uploade med det samme.
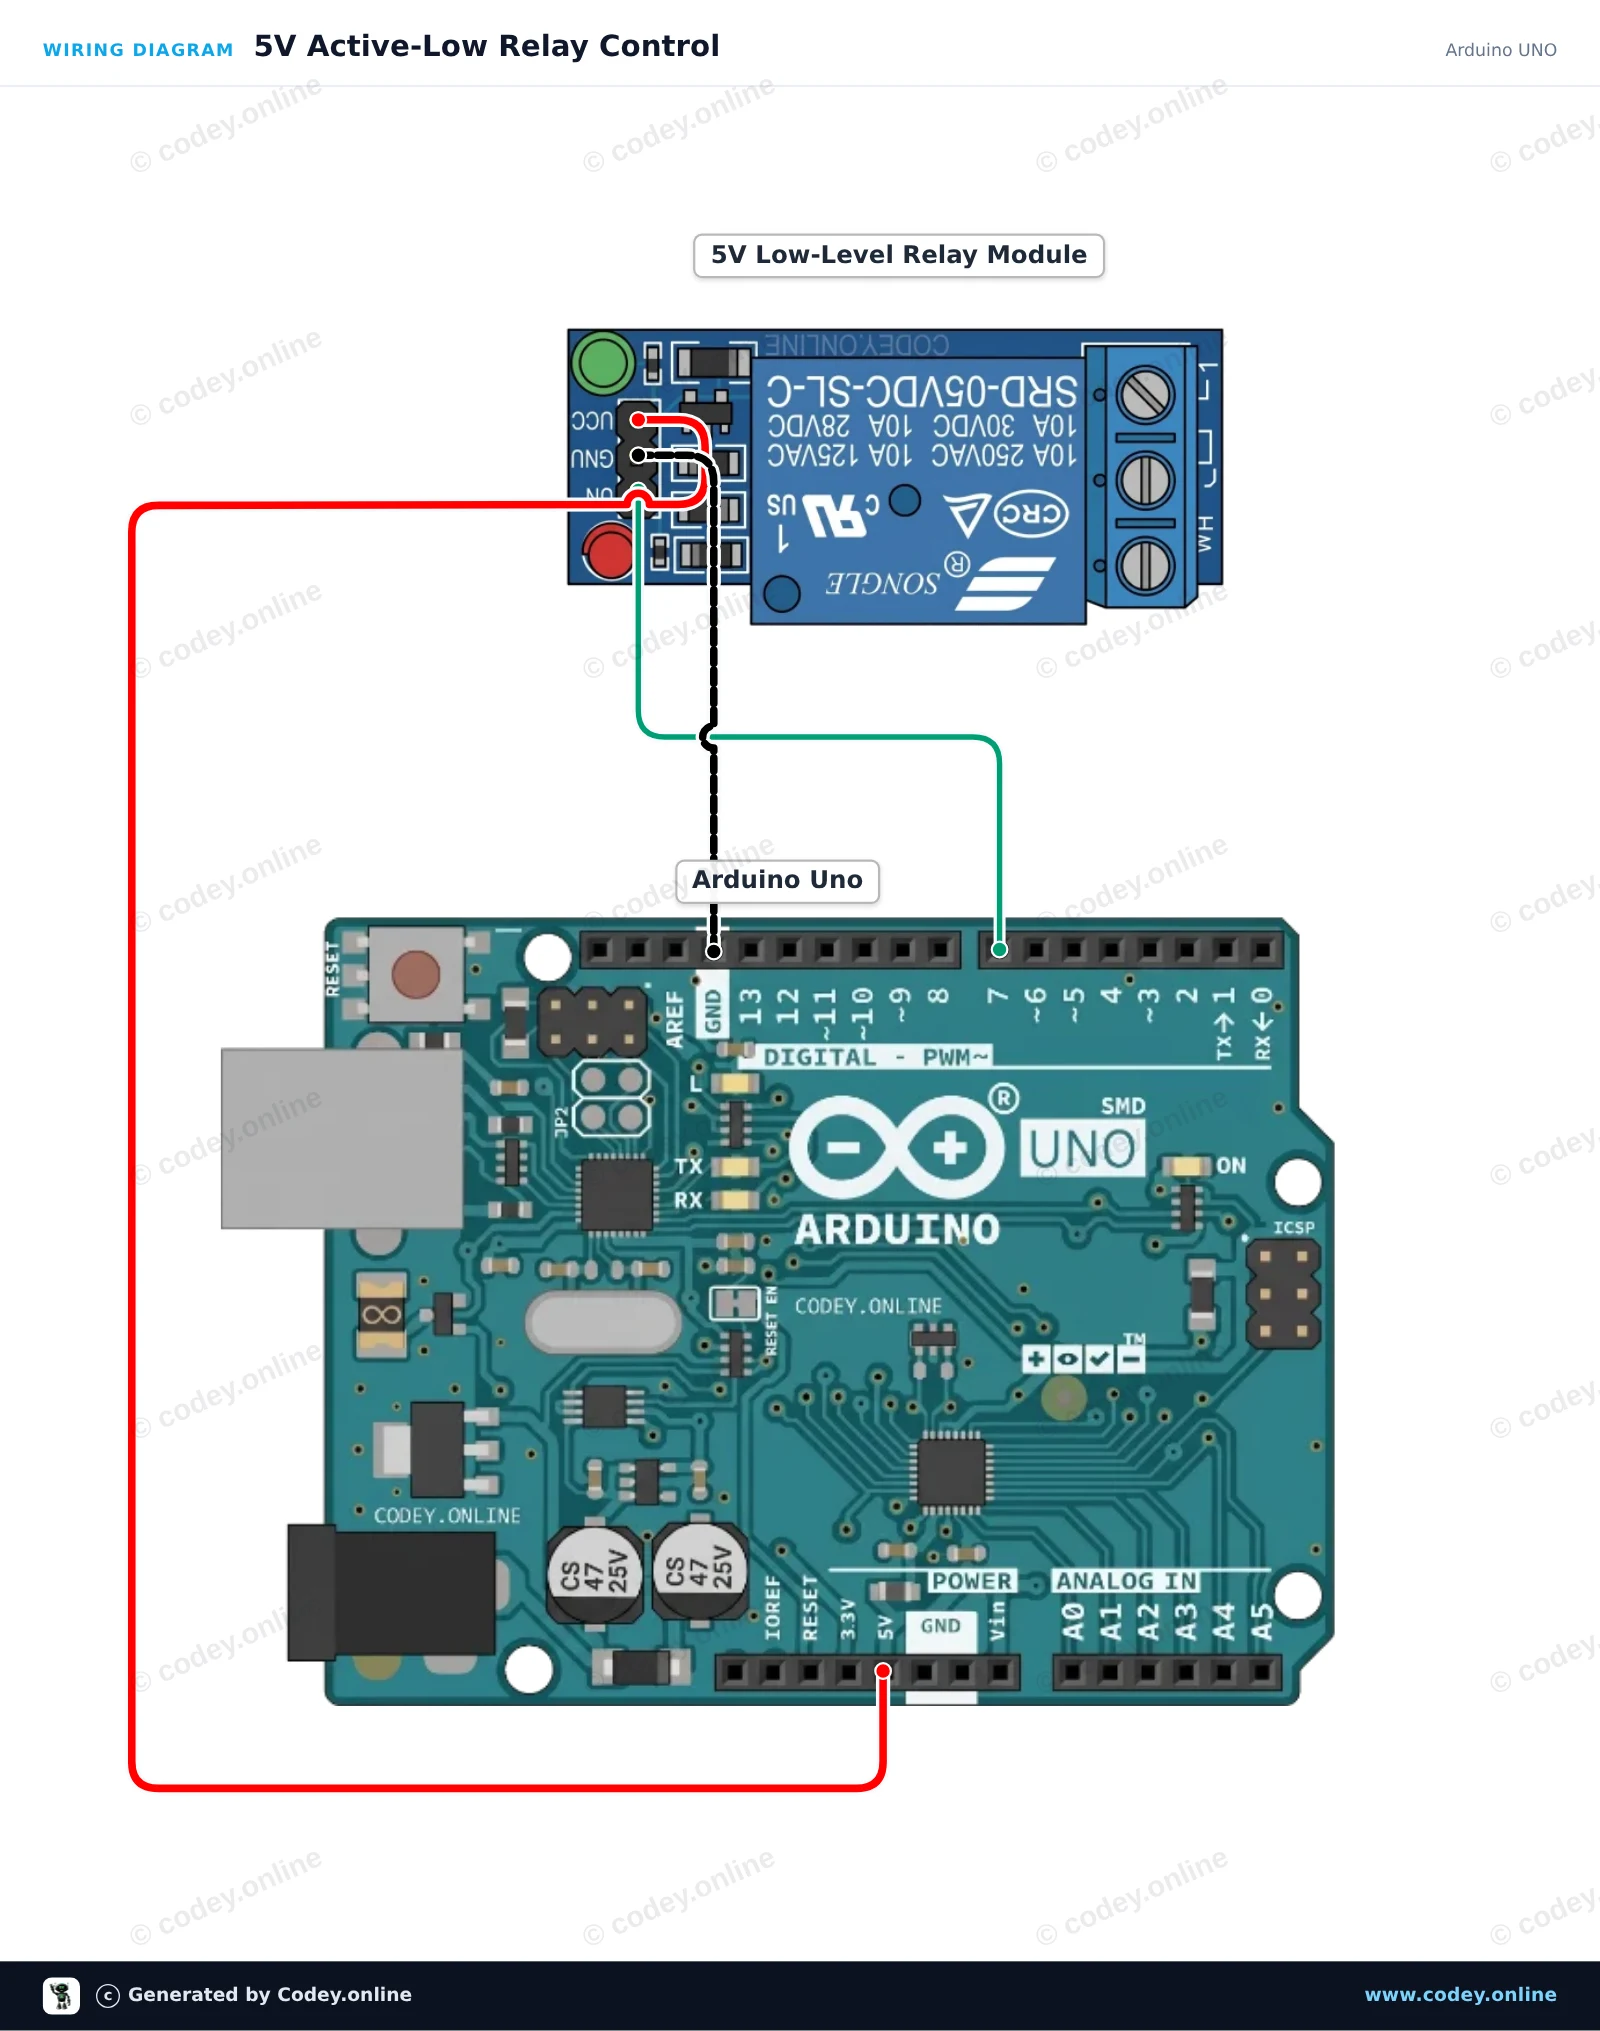
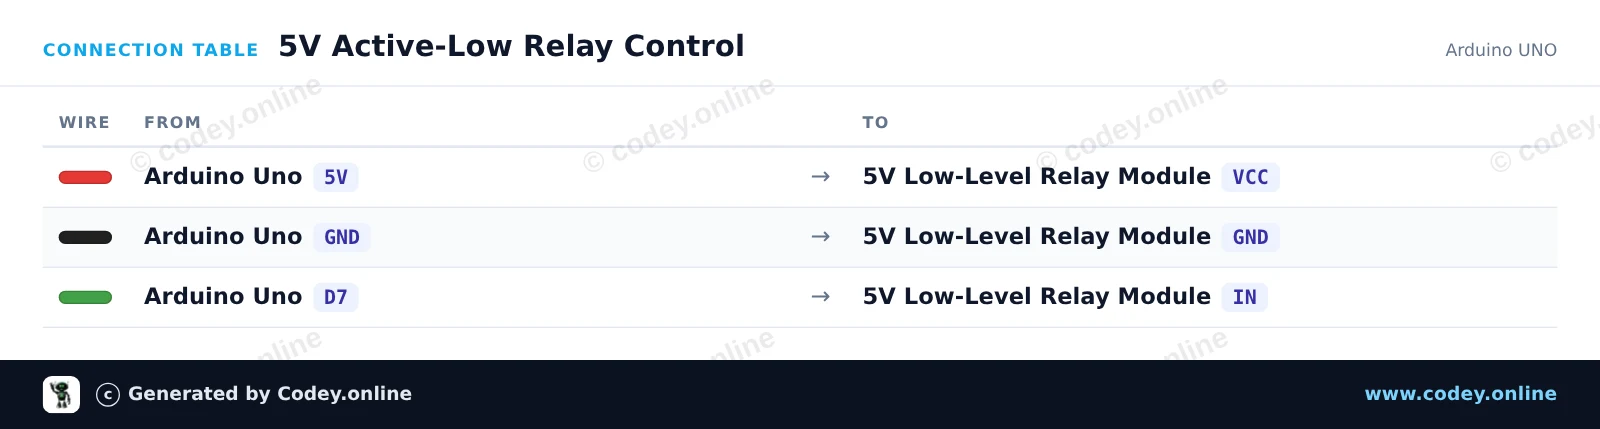
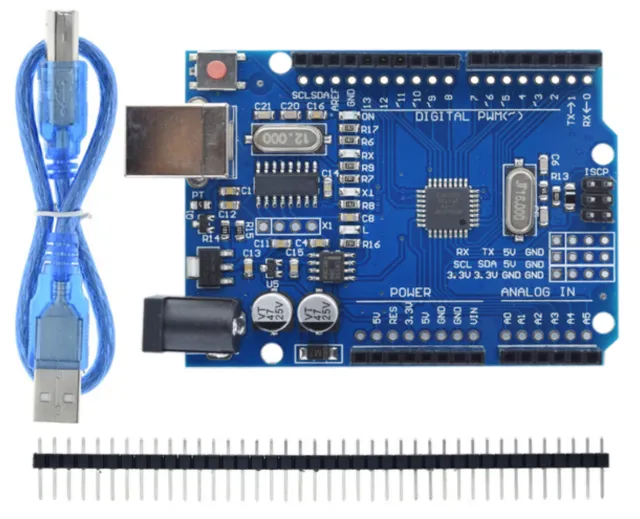
Dette projekt viser, hvordan man styrer et 5V active-low relæmodul med en Arduino Uno. Sketchen skifter relæet ON og OFF hvert andet sekund, mens den aktuelle status udskrives i Serial Monitor. Da det er et active-low modul, aktiverer LOW på styringspinnen relæet, og HIGH deaktiverer det.
/*
 * ==================================================================
 *  Generated by Codey.online  —  https://www.codey.online
 * ==================================================================
 *  Project   : 5V Active-Low Relay Control
 *  Board     : Arduino UNO (arduino:avr:uno)
 *  Parts     : Relais Module 5v Low
 *  Libraries : none (built-in)
 *
 *  Codey Online is an AI-powered browser IDE for Arduino and ESP32.
 *  Describe your project and Codey writes the code, draws the wiring
 *  diagram and uploads it to your board, straight from the browser.
 *  This code is free to use, modify and share, without warranty.
 * ==================================================================
 */

// Pin configuration
const int relayPin = 7;

void setup() {
  // Set the relay pin as output
  pinMode(relayPin, OUTPUT);

  // Active-low relay: default to OFF (HIGH state)
  digitalWrite(relayPin, HIGH);

  Serial.begin(115200);
  while (!Serial) {
    ; // Wait for serial port to connect
  }

  Serial.println(F("5V Relay Module Demo Started"));
  Serial.println(F("Relay will toggle every 2 seconds."));
}

void loop() {
  // Turn relay ON (active LOW)
  Serial.println(F("Relay: ON"));
  digitalWrite(relayPin, LOW);
  delay(2000);

  // Turn relay OFF (HIGH)
  Serial.println(F("Relay: OFF"));
  digitalWrite(relayPin, HIGH);
  delay(2000);
}Wiring diagram and example code generated by Codey.online — https://www.codey.online
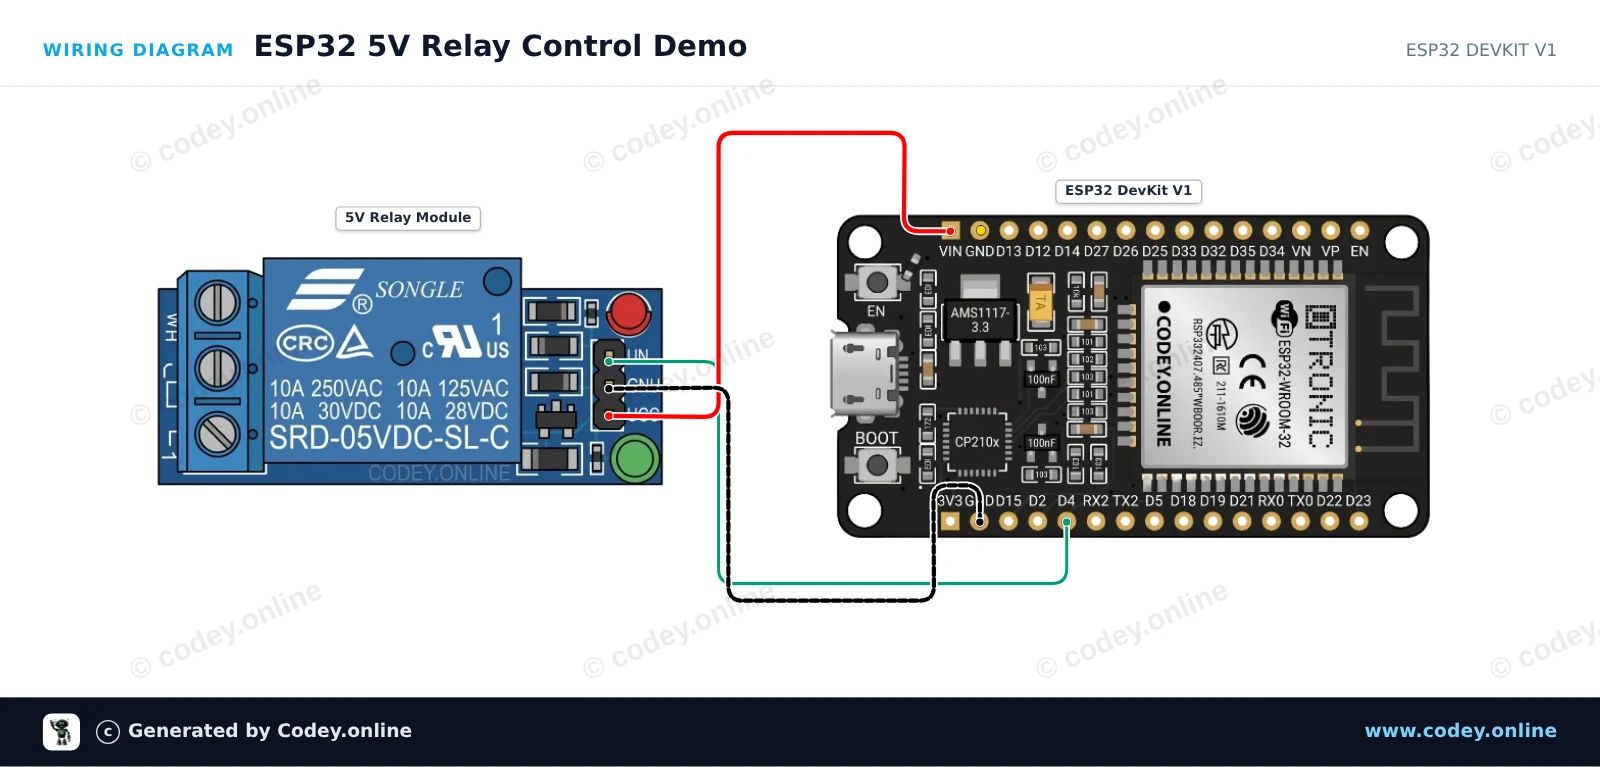
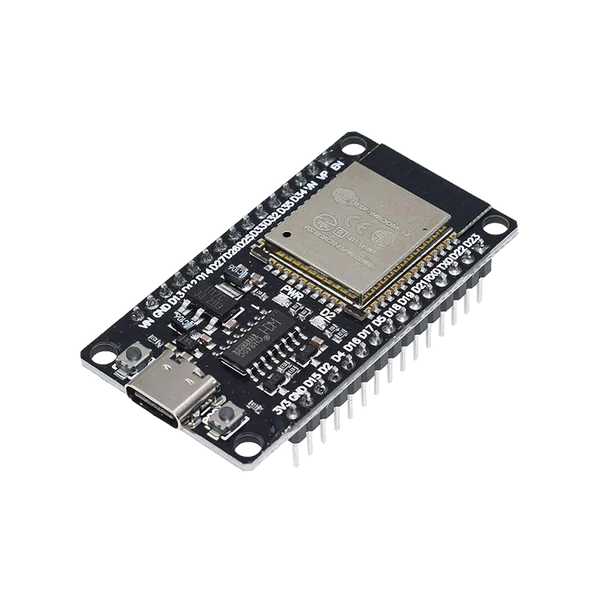
Dette eksempel viser, hvordan man styrer et 5V active-low relæmodul med ESP32. Relæspolen forsynes fra VIN-pin'en (5V fra USB), mens GPIO 4 skifter styrepinnen. Når styrepinnen sættes LOW, aktiveres relæet, og når den sættes HIGH, slukkes det.
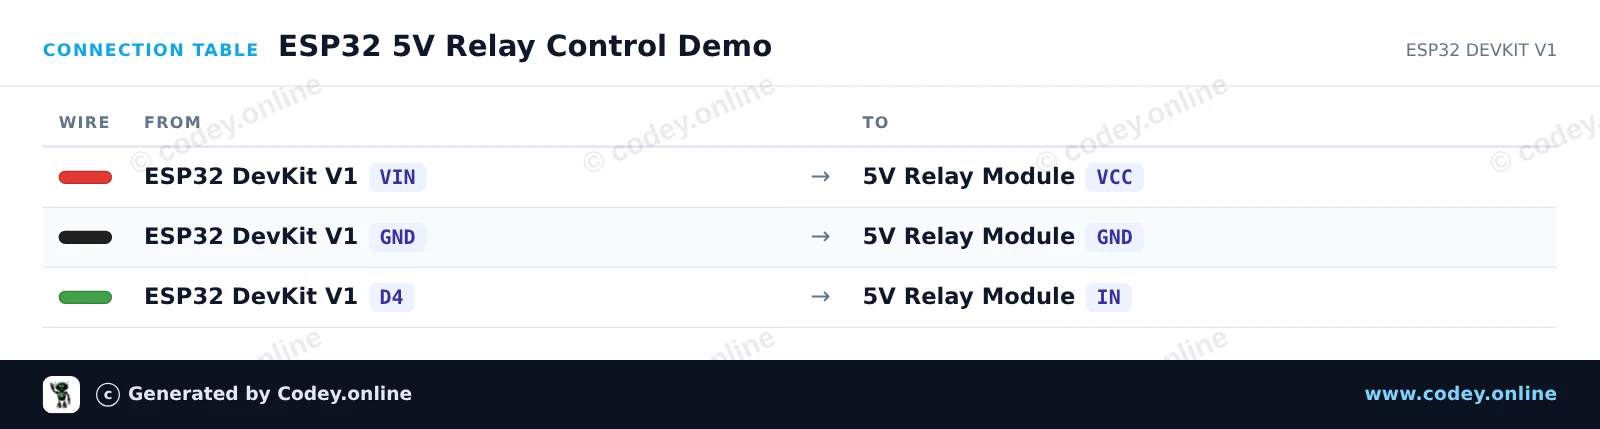
/*
 * ==================================================================
 *  Generated by Codey.online  —  https://www.codey.online
 * ==================================================================
 *  Project   : ESP32 5V Relay Control Demo
 *  Board     : ESP32 DEVKIT V1 (esp32:esp32:esp32doit-devkit-v1)
 *  Parts     : Relais Module 5v Low
 *  Libraries : none (built-in)
 *
 *  Codey Online is an AI-powered browser IDE for Arduino and ESP32.
 *  Describe your project and Codey writes the code, draws the wiring
 *  diagram and uploads it to your board, straight from the browser.
 *  This code is free to use, modify and share, without warranty.
 * ==================================================================
 */

// Pin connected to relay IN
const int RELAY_PIN = 4;

void setup() {
  Serial.begin(115200);

  // Configure relay pin as output and start with relay OFF (HIGH = inactive for active-low module)
  pinMode(RELAY_PIN, OUTPUT);
  digitalWrite(RELAY_PIN, HIGH);

  Serial.println("ESP32 Relay Module Demo Initialized");
}

void loop() {
  // Turn relay ON (Active-low: LOW energizes coil)
  Serial.println("Relay: ON");
  digitalWrite(RELAY_PIN, LOW);
  delay(2000);

  // Turn relay OFF (Active-low: HIGH de-energizes coil)
  Serial.println("Relay: OFF");
  digitalWrite(RELAY_PIN, HIGH);
  delay(2000);
}Wiring diagram and example code generated by Codey.online — https://www.codey.online







 English
  Nederlands
  Frans
Frans  Deutsch
  Italiano
  Español
  Suomi
Suomi  Polski
  Ελληνικά
  Български
  Čeština
  Hrvatski
  Aileen